Or go to our Shopify Theme Detector directly
Setting A Specific Publish Date For A Blog Post On Shopify
Last modified: April 15, 2024


There are lots of tools that can help you manage content on your Shopify website. For example, with the right discounts app like this one, you can have sales that are scheduled for set periods of time. When it isn’t during those times, the discounts aren’t on and the normal price is included.
Scheduling can also be done for blog posts. There are many advantages of this. You can bulk upload your content on one day and then schedule your blog posts for when you want them to go out. This allows you to meet the expected publishing dates of your content, without the chance of missing expected deadlines.
If you have a popular blog, this is very important. Your avid readers will want to see your blog posts being published at a consistent time, and this can only really be done through scheduling, as you might get too busy otherwise.
So, here are the steps that you can follow to schedule a Shopify blog post for future release.
| # | Name | Image | |
|---|---|---|---|
| 1 |
|
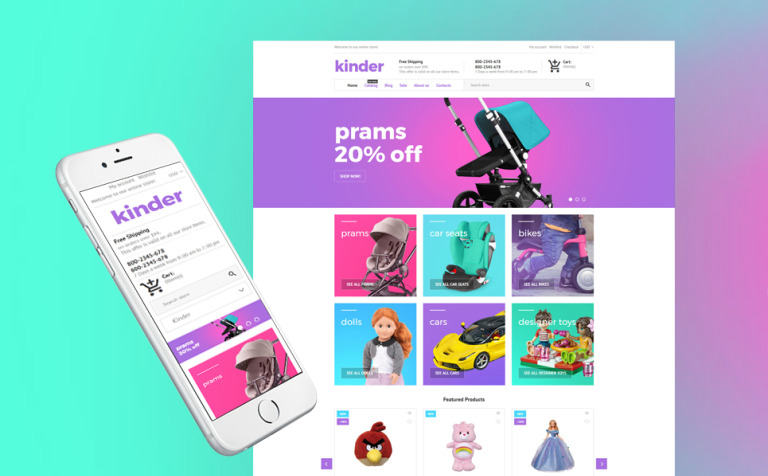
Kinder
|
|
| 2 |
|
Maker
|
|
| 3 |
|
Booster
|
|
| 4 |

|
Blockshop
|
|
| 5 |
|
Retina
|
|
| 6 |
|
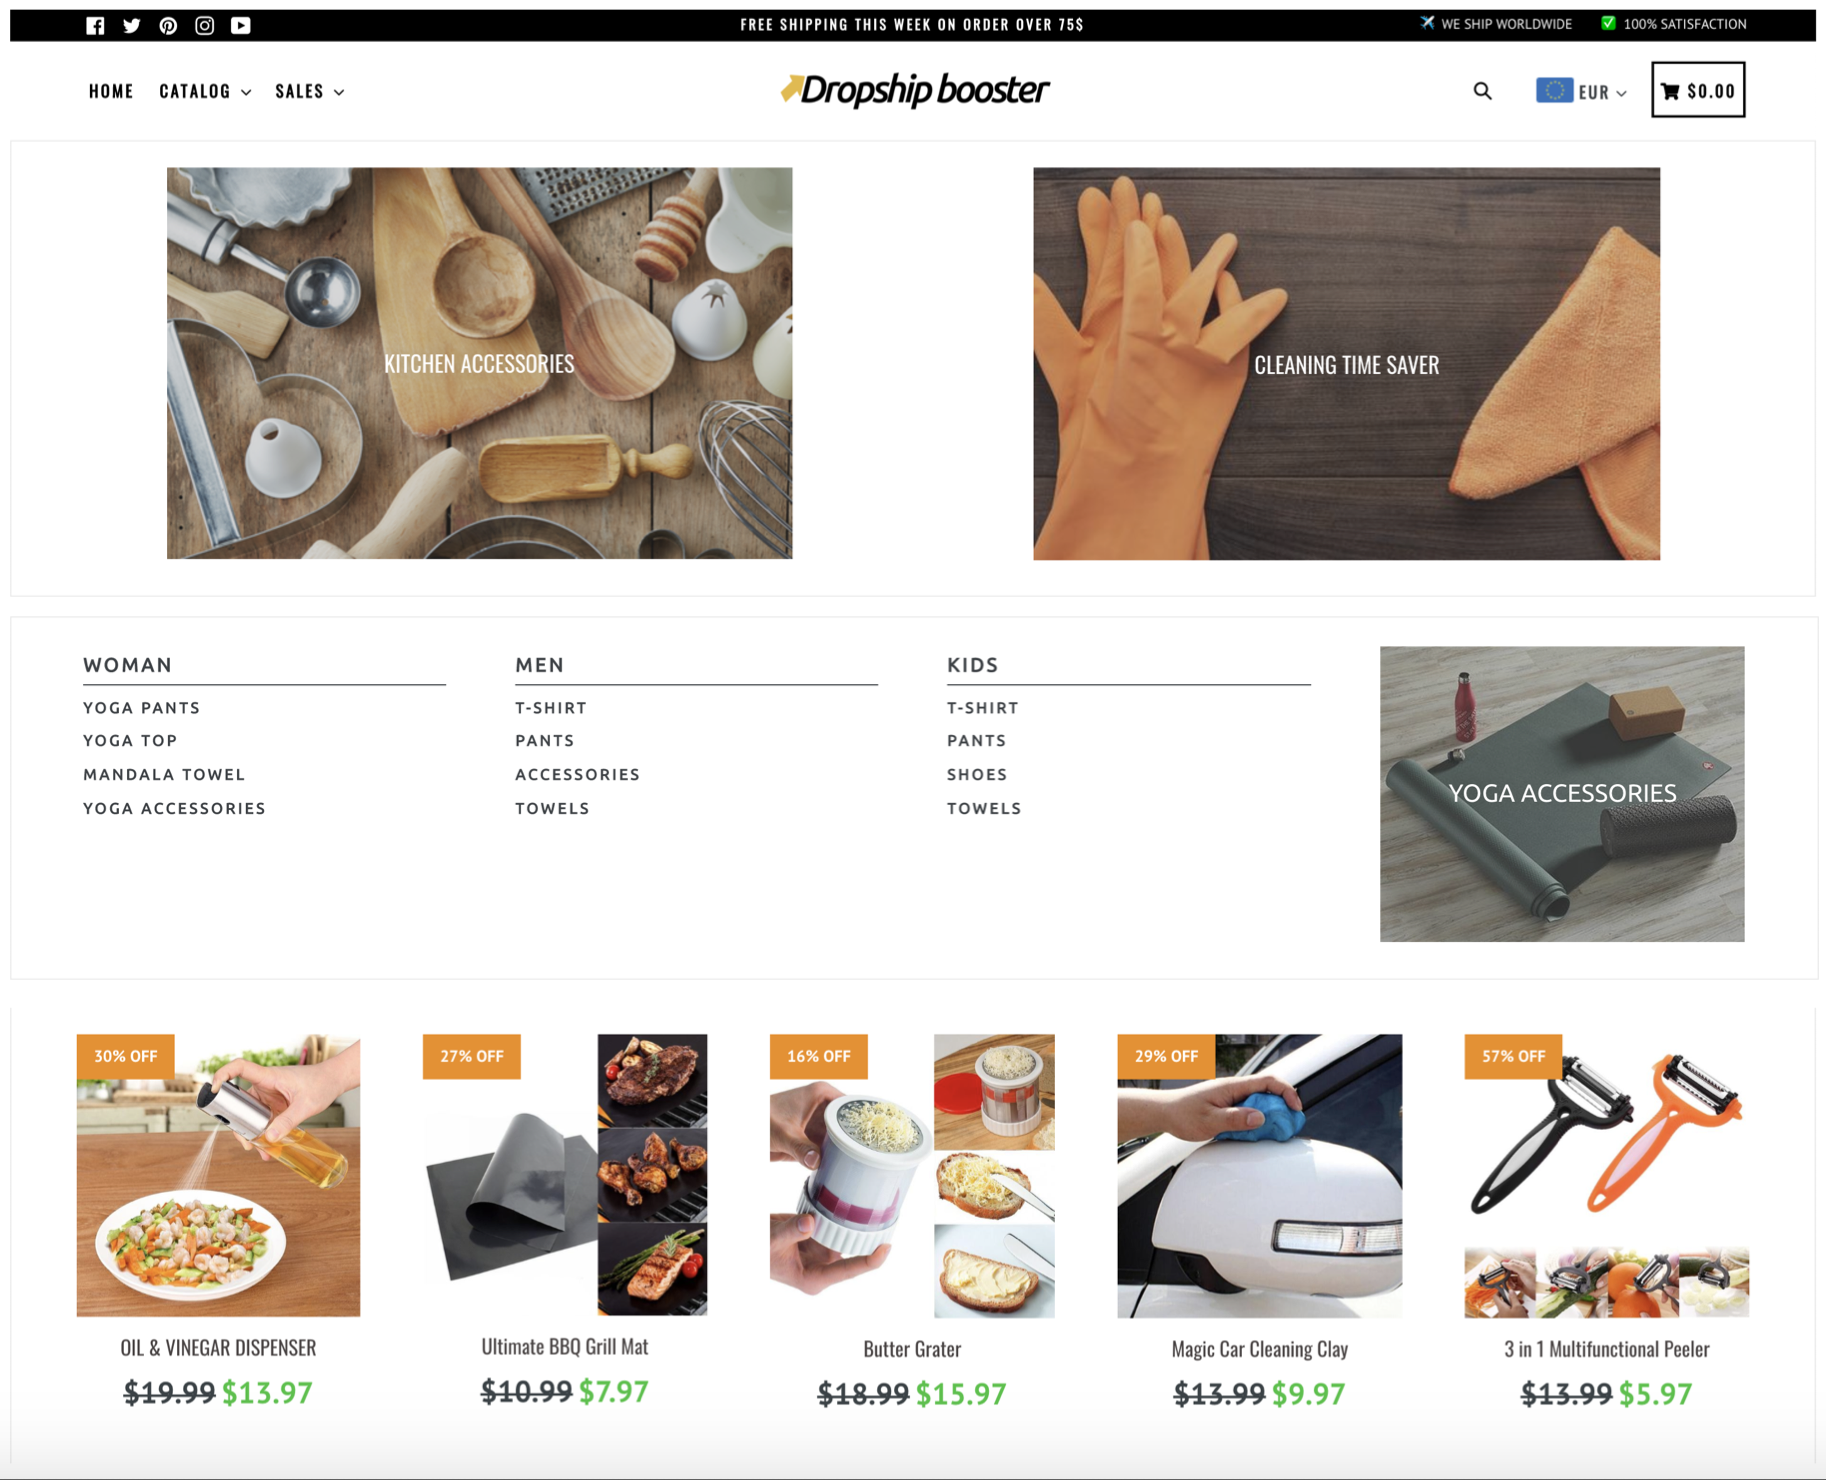
Supply
|
|
| 7 |

|
Broadcast
|
|
| 8 |

|
Mobilia
|
|
| 9 |
|
Parallax
|
|
| 10 |

|
Ira
|
|
|
Show More
|
|||
Step 1 – Login
Login to your Shopify store with your store’s credentials.
Step 2 – Select Blog Post
From the dashboard you need to go to the ‘Online Store’ and then select the option to go to the ‘Blog Posts’. This will take you to a list of blog posts, those which have been published already and those that have not.
Step 3 – Select The Blog Post You Want To Set A Schedule For
Now you need to click on the blog post that you want to schedule a date for. This will take you to the blog post edit screen, where you can schedule a time for the blog post.
Step 4 – Choose The Specific Date And Time
In the screen, you need to look for the visibility area of the blog post. In this section, you will find the ‘Set A Specific Publish Date’ option.
You can then set the date and the time that you want to publish the blog post on. When you’ve set the time, ensure that you save the blog post.
The best time to publish a blog post on is often a Monday morning. However, you can get some great results by publishing at other days. And you should be publishing at least three blog posts a week, to get to 15 blog posts per month, in order to get good traffic. So there are plenty of options for testing when the best time for releasing new content is.
Setting Up a Specific Publish Date for Blogging Management
Shopify provides powerful tools for managing your blog, including the ability to set a specific publish date for your blog posts. This feature allows you to schedule posts in advance, giving you greater control over your content calendar.
To set a specific publish date, you can simply do the steps explained above. This allows you to publish blog posts in bulk by scheduling them ahead of time, streamlining your content management process.
Shopify also offers flexibility when it comes to managing your blog’s authorship. You can easily change the author name on your Shopify blog to reflect different contributors or to update your own information.
Additionally, you have control over your blog’s comment section, with the ability to allow or disable comments on your Shopify blog and approve or delete comments as needed to maintain a positive community.
If you need to temporarily remove a post from your blog, Shopify allows you to hide blog posts without permanently deleting them. This can be useful when you need to make updates or revisions before republishing. You can also edit a blog name to keep your content organized and easily navigable for your readers.
To provide a brief preview of your blog posts, Shopify enables you to display an excerpt from a blog post on your main blog page or in other areas of your site. This can help entice readers to click through and read the full article.
By leveraging these blog management features in Shopify, you can streamline your content creation process, maintain a consistent publishing schedule, and keep your blog organized and engaging for your audience.
Conclusion: Setting A Specific Publish Date For A Blog Post On Shopify
Writing a blog is very important. You should be publishing at least 15 blog posts per month, if not more. To make management of your blog much easier, you should be scheduling your blog posts for a future date. This allows you to maintain a campaign that is consistent and draws in regular customers back to your store.
Try to schedule in blog posts every two days on your blog and see if that improves your blog’s performance in terms of search results, traffic and conversions. You can also increase conversions by using one of the most popular popup plugins on your site that can entice audiences to subscribe to your mailing list when they want to exit your site.
-
How far in advance can I set a publish date for a blog post on Shopify?
You can schedule a blog post on Shopify several months in advance. This helps in planning and maintaining consistent content.
-
Is there a limit to the number of blog posts I can schedule on Shopify?
Shopify doesn’t impose a limit on the number of scheduled posts. You can schedule as many as your content strategy requires.
-
Can I edit a blog post after setting its publish date on Shopify?
Yes, you can edit a blog post on Shopify even after setting its publish date. Simply go to the “Blog Posts” section in your Shopify admin, select the post, make your edits, and save the changes.


 PageFly Landing Page Builder
  Shopify
  SEMrush
  Website Maintenance
  UpPromote