How to Start a Shopify Medical Supply Store in 2026
Last modified: March 29, 2026

| # | Name | Image | |
|---|---|---|---|
| 1 |
|
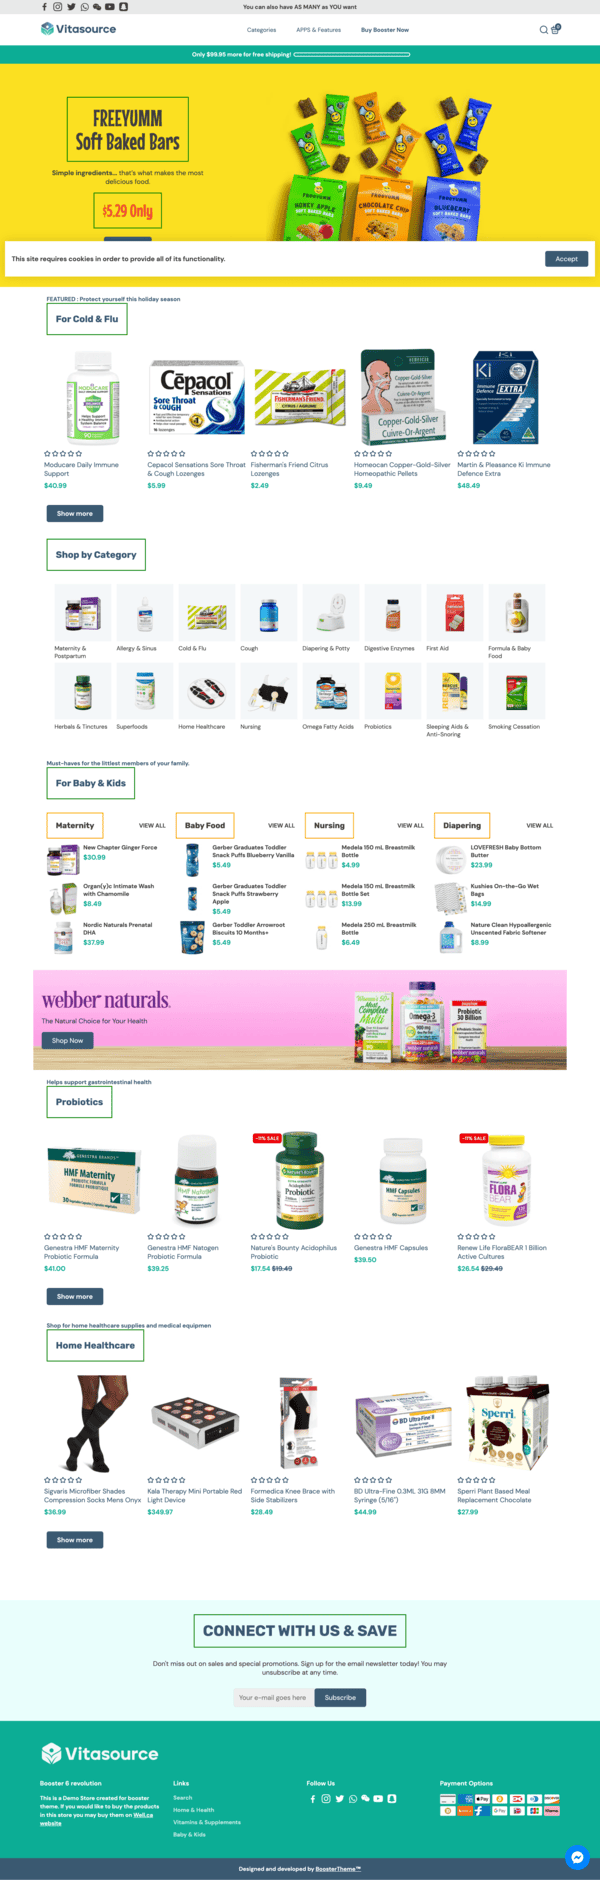
Booster
|
|
| 2 |
|
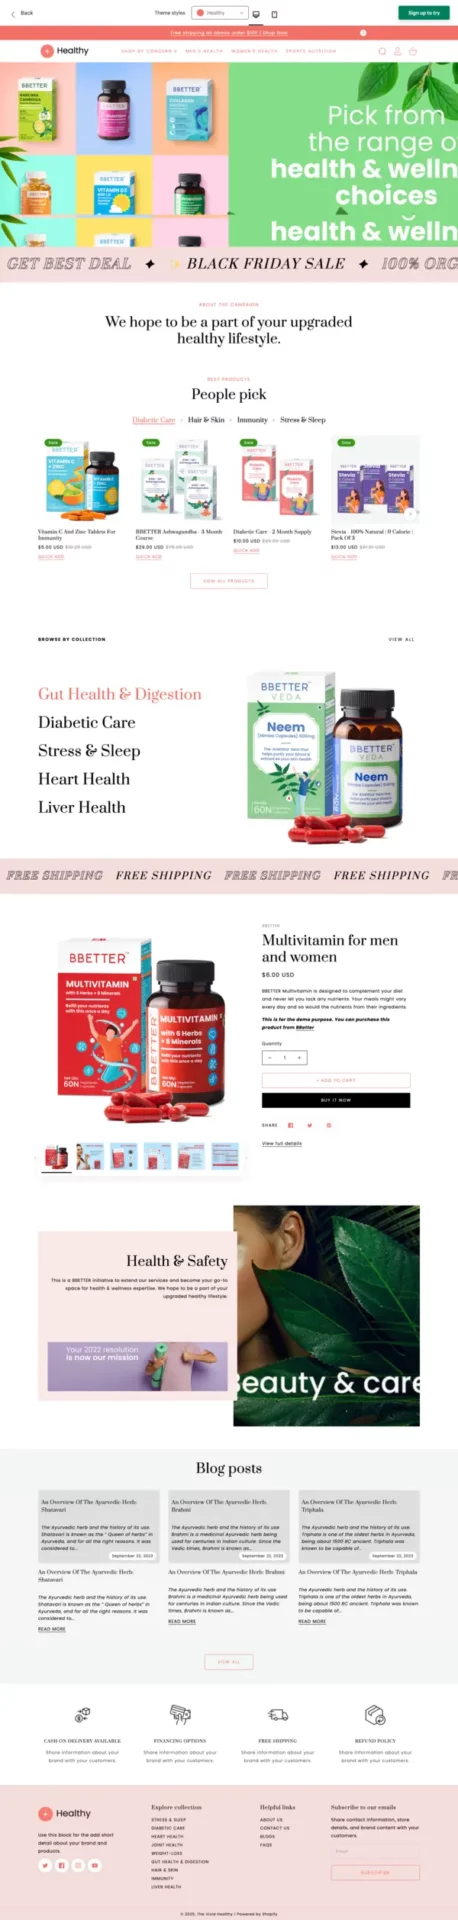
Vivid
|
|
| 3 |
|
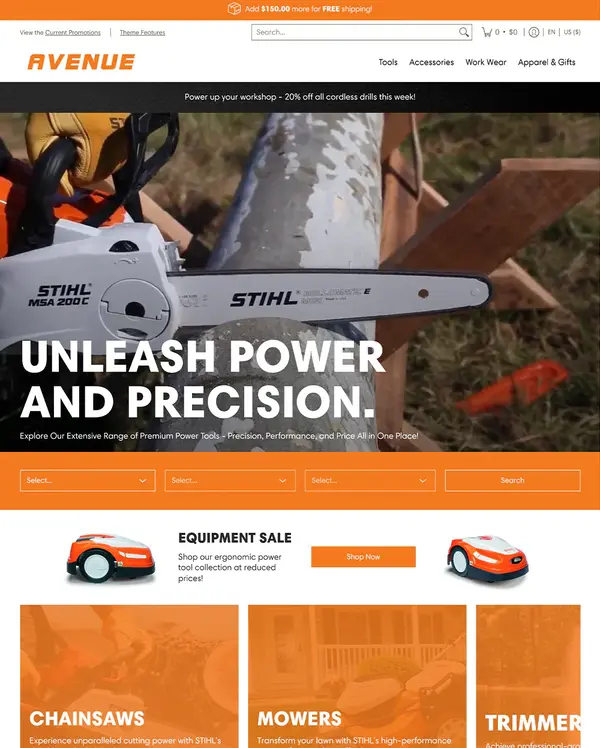
Avenue
|
|
| 4 |
|
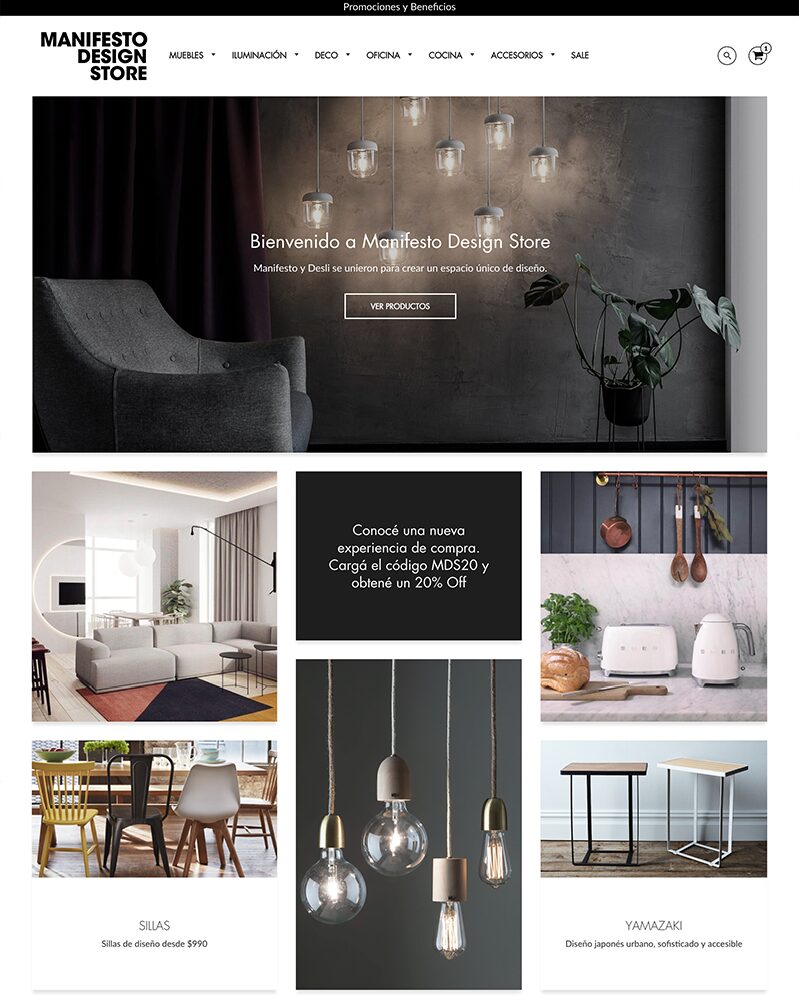
Loft
|
|
| 5 |

|
Galleria
|
|
| 6 |
|
Warehouse
|
|
|
Show More
|
|||
-
How can I optimize my Shopify medical supply store for search engines?
To achieve this, start with thorough keyword research to identify relevant keywords and phrases related to medical supplies, healthcare products, and your specific inventory.
-
Can I sell prescription medical supplies on my Shopify store?
The sale of prescription medical supplies on your Shopify store may be subject to legal regulations that vary by region. In many countries, it is strictly regulated.
-
Can I integrate my physical medical supply store with my Shopify online store?
Yes, you can integrate your physical medical supply store with your Shopify online store. Shopify offers features that enable you to synchronize inventory, orders, and customer data.
Statistics about Shopify Medical Stores

- Healthcare E-commerce Growth: The global healthcare e-commerce market is projected to reach $505 billion by 2025, driven by the increasing adoption of online shopping for medical supplies, healthcare products, and telehealth services (Grand View Research).
- Rise of Telehealth and Online Pharmacies: The pandemic accelerated the adoption of telehealth and online pharmacies, with the telehealth market expected to grow at a CAGR of 24.68% from 2025 to 2030. Many of these services are now being integrated with e-commerce platforms like Shopify (Fortune Business Insights).
- Shopify in the Health & Wellness Industry: Shopify reported that its health and wellness category, which includes medical stores, saw significant growth during the pandemic, with many businesses moving online to meet demand for health-related products (Shopify - Future of Commerce).
- Consumer Trust in Online Medical Stores: A survey found that 66% of consumers prefer purchasing medical supplies and healthcare products online due to convenience and the ability to easily compare prices (Statista).
- Impact of E-commerce on Healthcare: The integration of e-commerce with healthcare services, such as online consultations and prescription services, is expected to drive the digital health market to reach $639.4 billion by 2026, as more consumers turn to online platforms for their healthcare needs (Mordor Intelligence).
These statistics illustrate the growing significance of e-commerce platforms like Shopify in the healthcare industry, particularly as more consumers seek out online options for purchasing medical supplies and accessing healthcare services.
Exploring Niche Opportunities for Shopify Medical Stores
A medical store can be considered a niche within the broader health & wellness industry. Just like niche stores focused on specific products such as mattress or supplement stores, a medical supply store caters to a particular segment of customers with specialized needs. This niche approach allows for a concentrated effort in understanding and meeting the unique requirements of the target market.
Entrepreneurs looking to build a gym store or sell on sport stores can take inspiration from the medical supply store model, as they all involve catering to specific health-related needs and interests.
By focusing on a well-defined niche, these stores can provide a tailored selection of products, expert knowledge, and personalized service that resonates with their target audience.
Conclusion: How to Start a Shopify Medical Store
Above are the steps that are needed to start a Shopify medical store. It is really simple to do and can be ready within just a few hours. Just remember that marketing is going to make your store successful and this can take hours, days and weeks to get right.