Shopify Free Account: A Quick Guide
Last modified: March 24, 2026

| # | Name | Image | |
|---|---|---|---|
| 1 |
|
Booster
|
|
| 2 |

|
Satoshi
|
|
| 3 |

|
Debutify
|
|
| 4 |
|
Symmetry
|
|
| 5 |
|
Korando
|
|
| 6 |

|
Atlantic
|
|
| 7 |
|
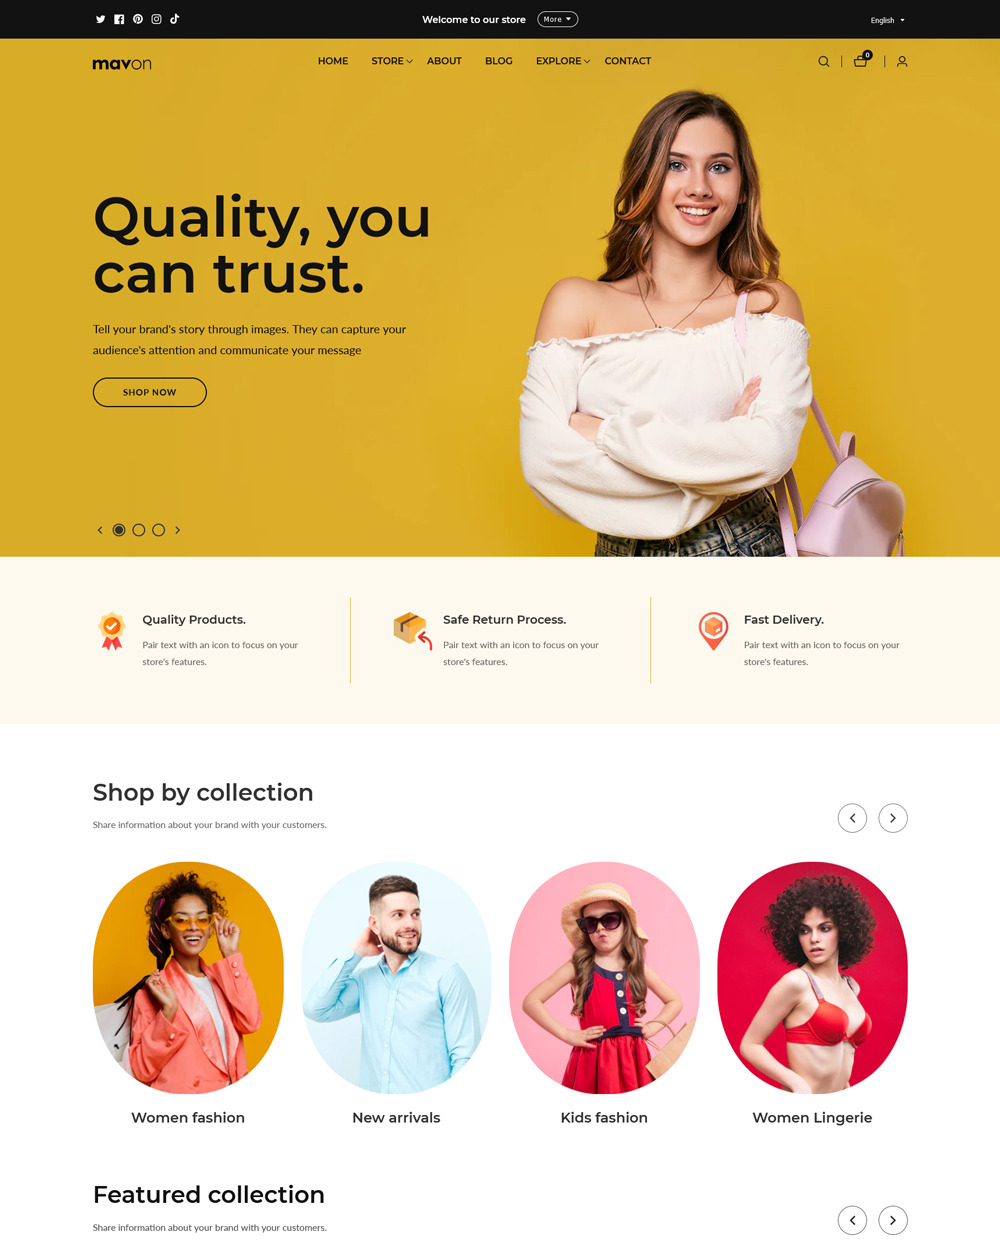
Mavon
|
|
| 8 |
|
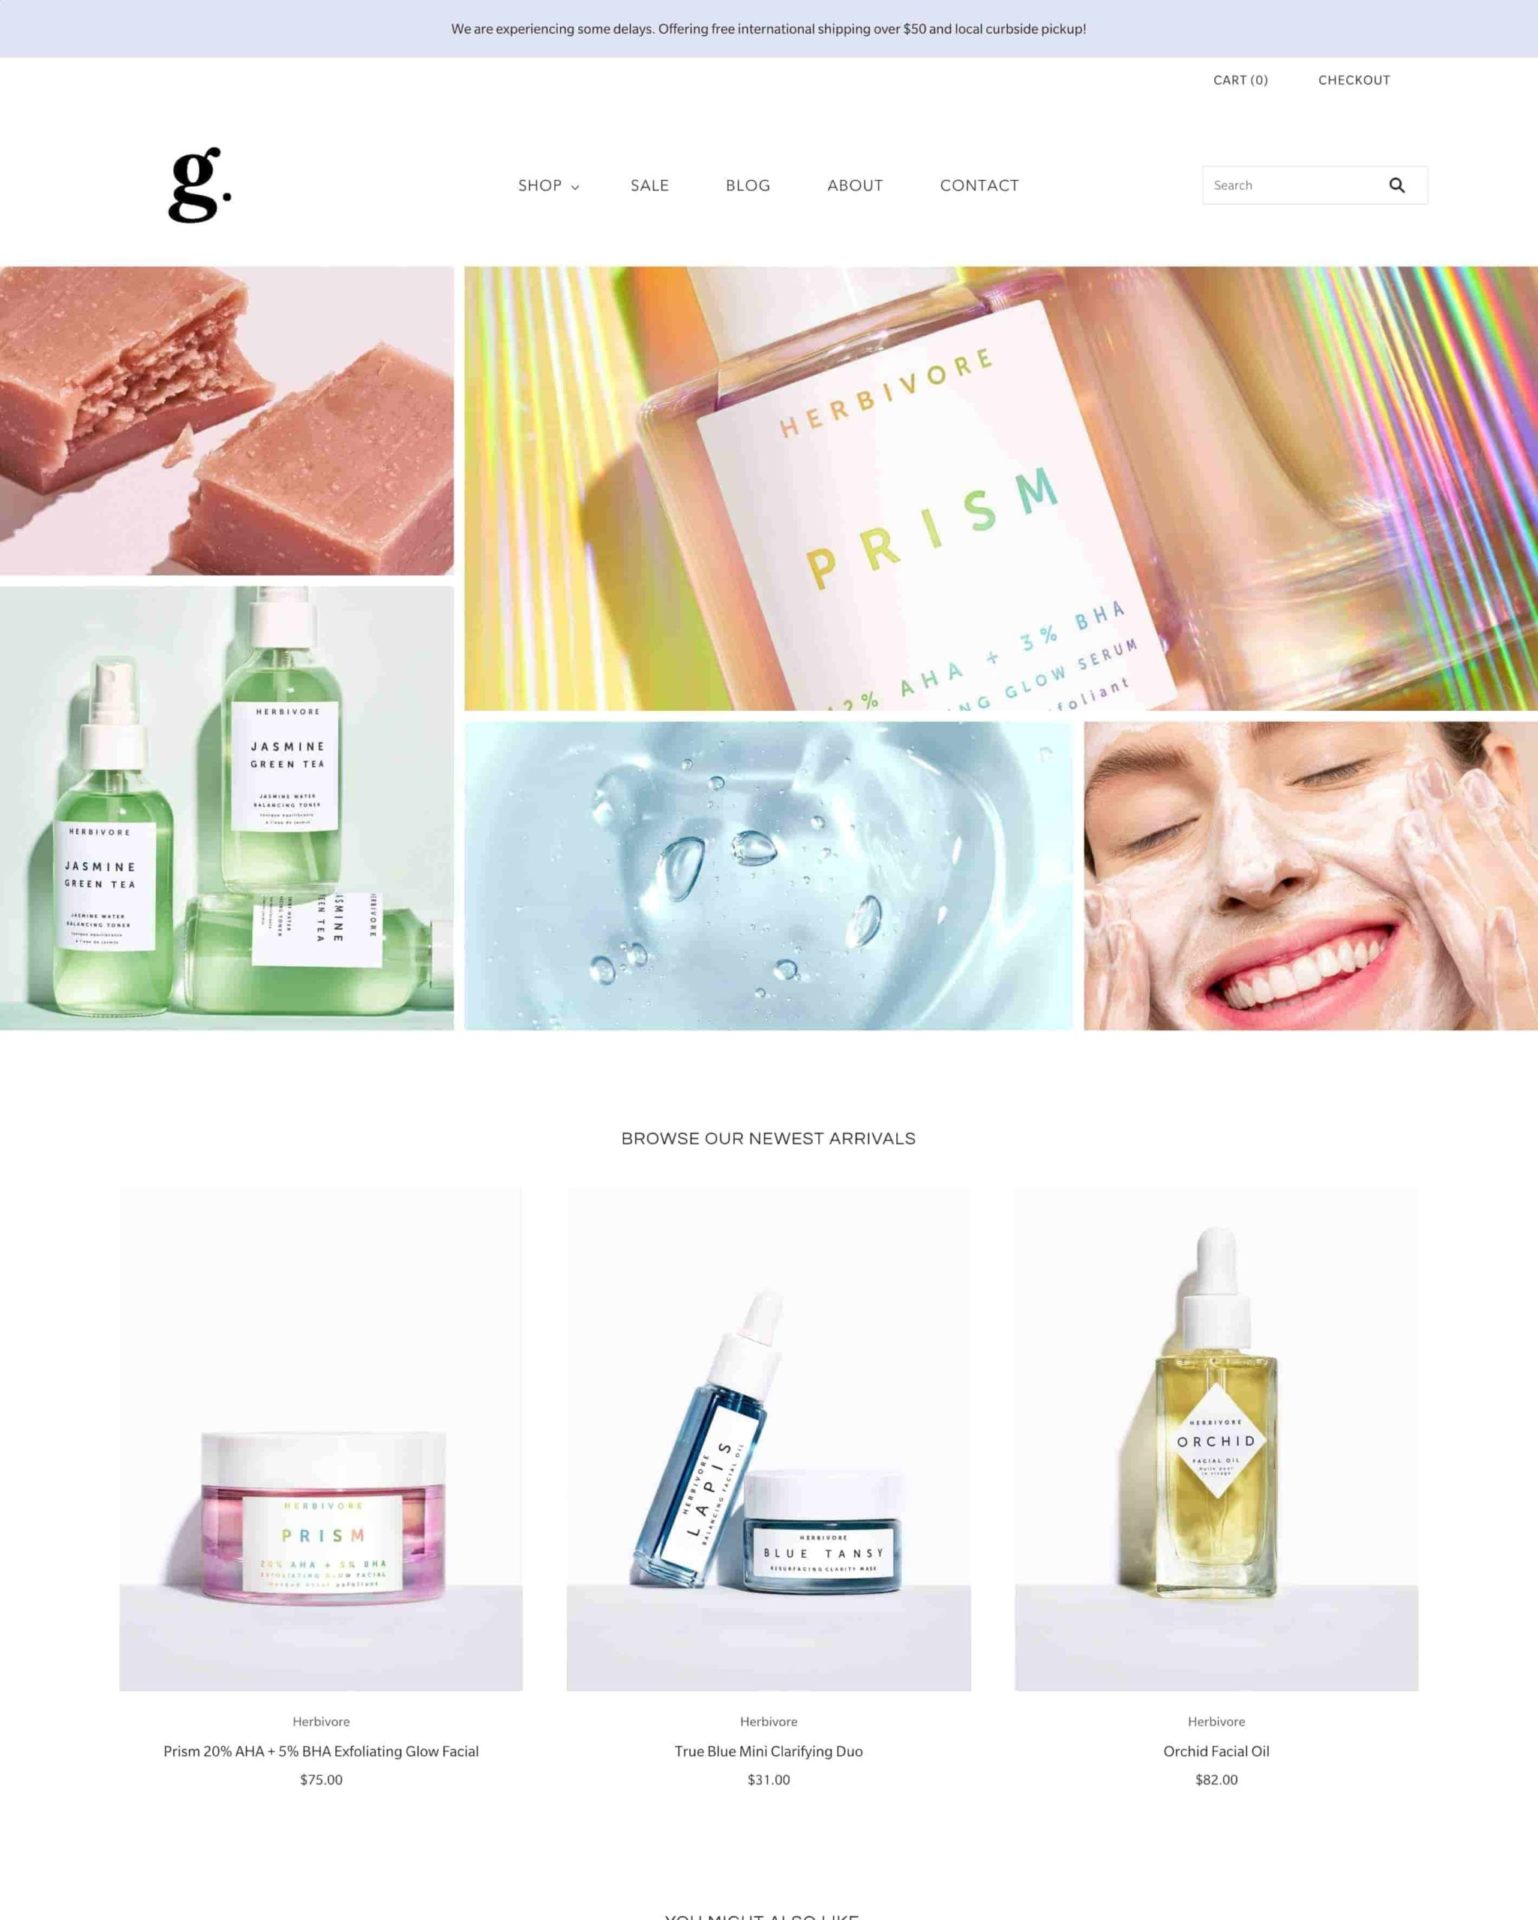
Grid Theme
|
|
| 9 |
|
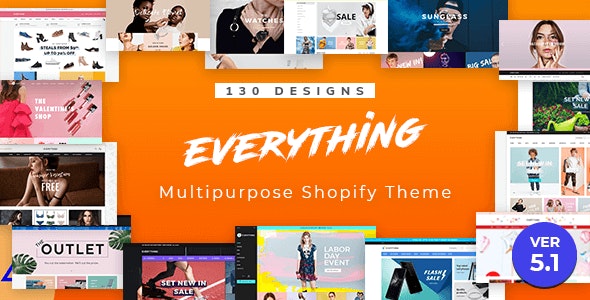
Everything
|
|
| 10 |

|
Flow - Timeless
|
|
| 11 |

|
Envy - Luxe
|
|
| 12 |

|
Expanse - Classic
|
|
| 13 |

|
Palo Alto
|
|
| 14 |

|
Sahara - Sahara
|
|
| 15 |

|
Prestige - Couture
|
|
| 16 |
|
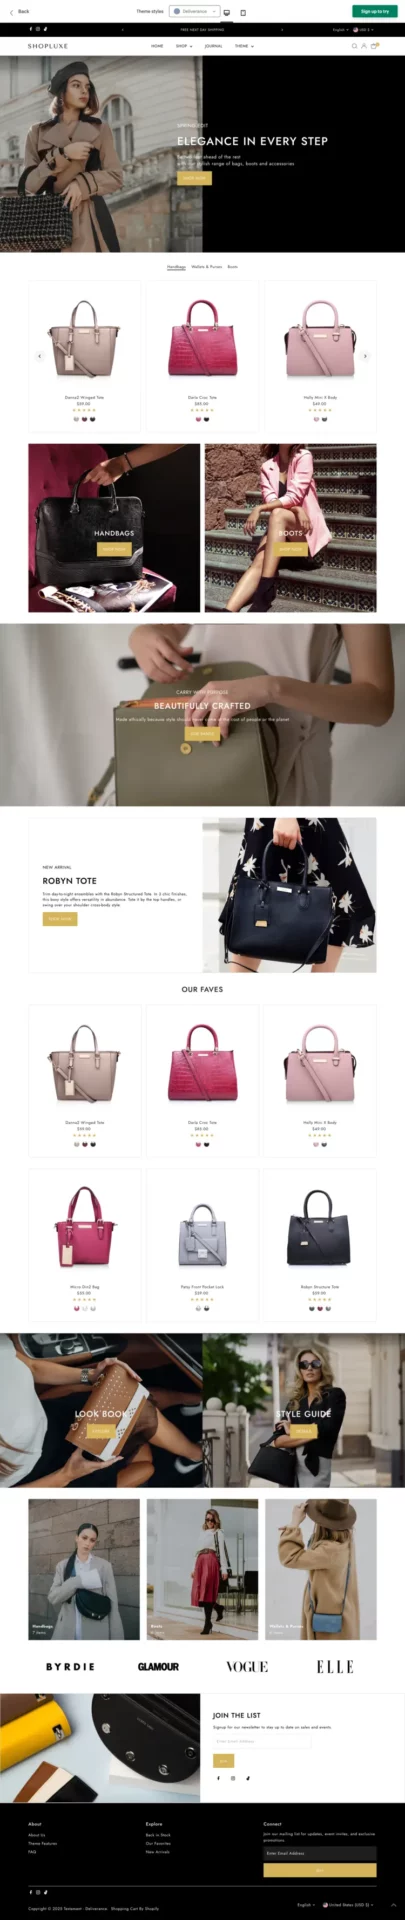
Testament - Deliverance
|
|
| 17 |

|
Yuva - Classic
|
|
| 18 |

|
Pipeline - Clean
|
|
|
Show More
|
|||
-
Are there any transaction fees associated with the free Shopify development store?
No, there are no transaction fees associated with a free Shopify development store. However, standard transaction fees apply once you switch to a paid plan and start processing real sales.
-
Can I upgrade my free Shopify development store to a paid plan?
Yes, you can upgrade your free development store to a paid plan at any time, which allows you to access more features and remove the limitations of the development store.
-
Are there any limitations on the number of products I can add to a free Shopify development store?
No, you can create an unlimited number of unique products in a free Shopify development store, allowing you to fully build and test your store’s inventory.
-
How to get a free Shopify account?
Every account comes with a free trial for 3 days, a $1 plan for the next month, then regular pricing. For extreme budgeters, the $5 starter plan might be a good choice.
-
How do you get a Shopify free developer account?
Please see the instructions above. We’ve explained in detail how to get a free developer’s account.
-
Are shopify themes free?
Yes, there some some themes that are free.
-
Are Shopify apps free?
Yes, some apps are free, while some are paid. You can also see our lists of free apps throughout the website.
Why having a free Shopify trial matters:
Free Shopify Trial Test Before Investing
A free Shopify account allows users to explore and test the platform’s features without financial commitment.
This trial is crucial for understanding how Shopify fits into your business model.
It provides a risk-free opportunity to experiment with store design, product placement, and workflow.
Once you are ready to go - you can check the Shopify pricing plans and decide which is right for you.
Learning Curve and Training in a Free Shopify Trial
The trial period serves as a valuable learning phase for new users.
It offers time to familiarize oneself with the Shopify interface and its various functionalities.
This hands-on experience is essential for building confidence and skills before launching a store.
Understanding Shopify key terms and concepts, such as themes, apps, and sales channels, can help you navigate the platform more effectively.
Strategic Planning for Business Growth via Free Shopify Trial
Utilizing a free account enables strategic planning for future business growth.
It allows users to assess the scalability of the platform and plan for potential expansions.
This foresight is key in choosing the right subscription plan post-trial.
Things to Remember When Getting A Free Shopify
Check for Free Shopify Account for Promotional Validity
Always verify the current status of Shopify’s promotional offers.
These deals, including extended trials or discounted rates, can change frequently.
Staying informed ensures you don’t miss out on beneficial terms.
Understand the Limitations of Free Trials
Free trials offer a glimpse into Shopify’s capabilities but come with limitations.
You can set up your store and explore features, but selling capabilities might be restricted until you opt for a paid plan.
Plan for Post-Free Trial Shopify Subscription Costs
Be prepared for the transition to a paid subscription after the trial period.
Understanding the different plan costs and features helps in selecting the most suitable option for your business needs.
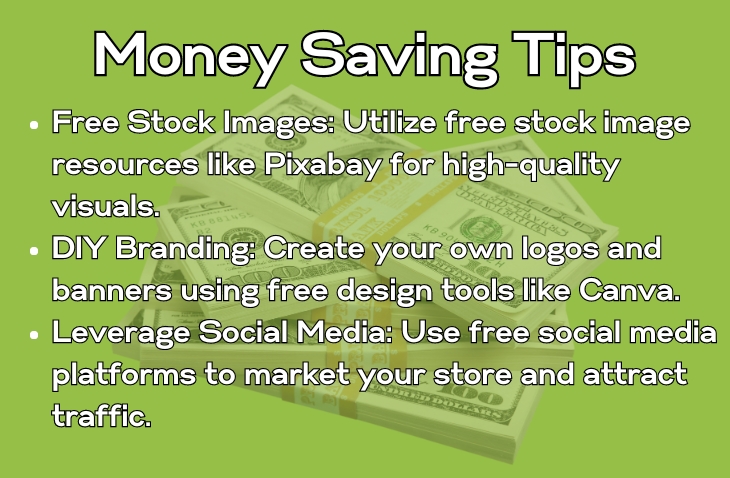
Tips for Keeping Costs Low in Your Free Trial
- Free Stock Images: Utilize free stock image resources like Pixabay for high-quality visuals.
- DIY Branding: Create your own logos and banners using free design tools like Canva.
- Leverage Social Media: Use free social media platforms to market your store and attract traffic.
Conclusion: Get a Free Shopify Trial or Use Shopify for Free
We recommend that business owners looking for a free account take advantage of the latest Shopify offer 3-day free trial and first 3 months for $1/month Shopify offer that makes your first 93 days nearly free!

