Or go to our Shopify Theme Detector directly
How To Allow Or Disable Comments On Your Shopify Blog
Last modified: April 15, 2024

Blogs are a great way to reach out to audiences and create a community. They’re also important marketing channels for selling your expertise, products, services, etc. Blogs have been around for a long time, and one of the most essential features of the blog is the comments section.
The comments section gives readers the chance to take part in the conversation. They can thank the author for their suggestions, advice, or ask further questions. Some commentators might also make their own recommendations to the topic that you’ve discussed.
However, that doesn’t always mean that comments are a positive experience for your Shopify blog. Sometimes controversial subjects can get negative responses from audiences. Or bots can overload your comments section with irrelevant content and outbound links that could be harmful to your brand and anyone wanting to click on the link.
To prevent abuse of the comments section there are three options that you can use on Shopify: allow all comments, allow comments after moderation or disable all comments. These options can be enabled or disabled by you.
| # | Name | Image | |
|---|---|---|---|
| 1 |

|
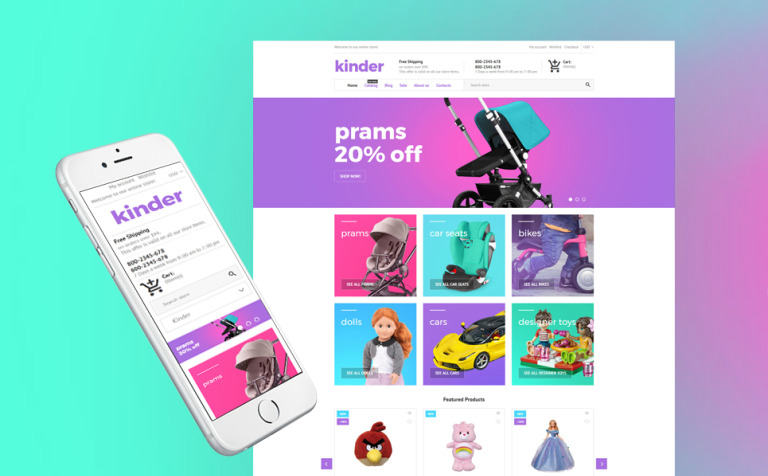
Kinder
|
|
| 2 |

|
Maker
|
|
| 3 |

|
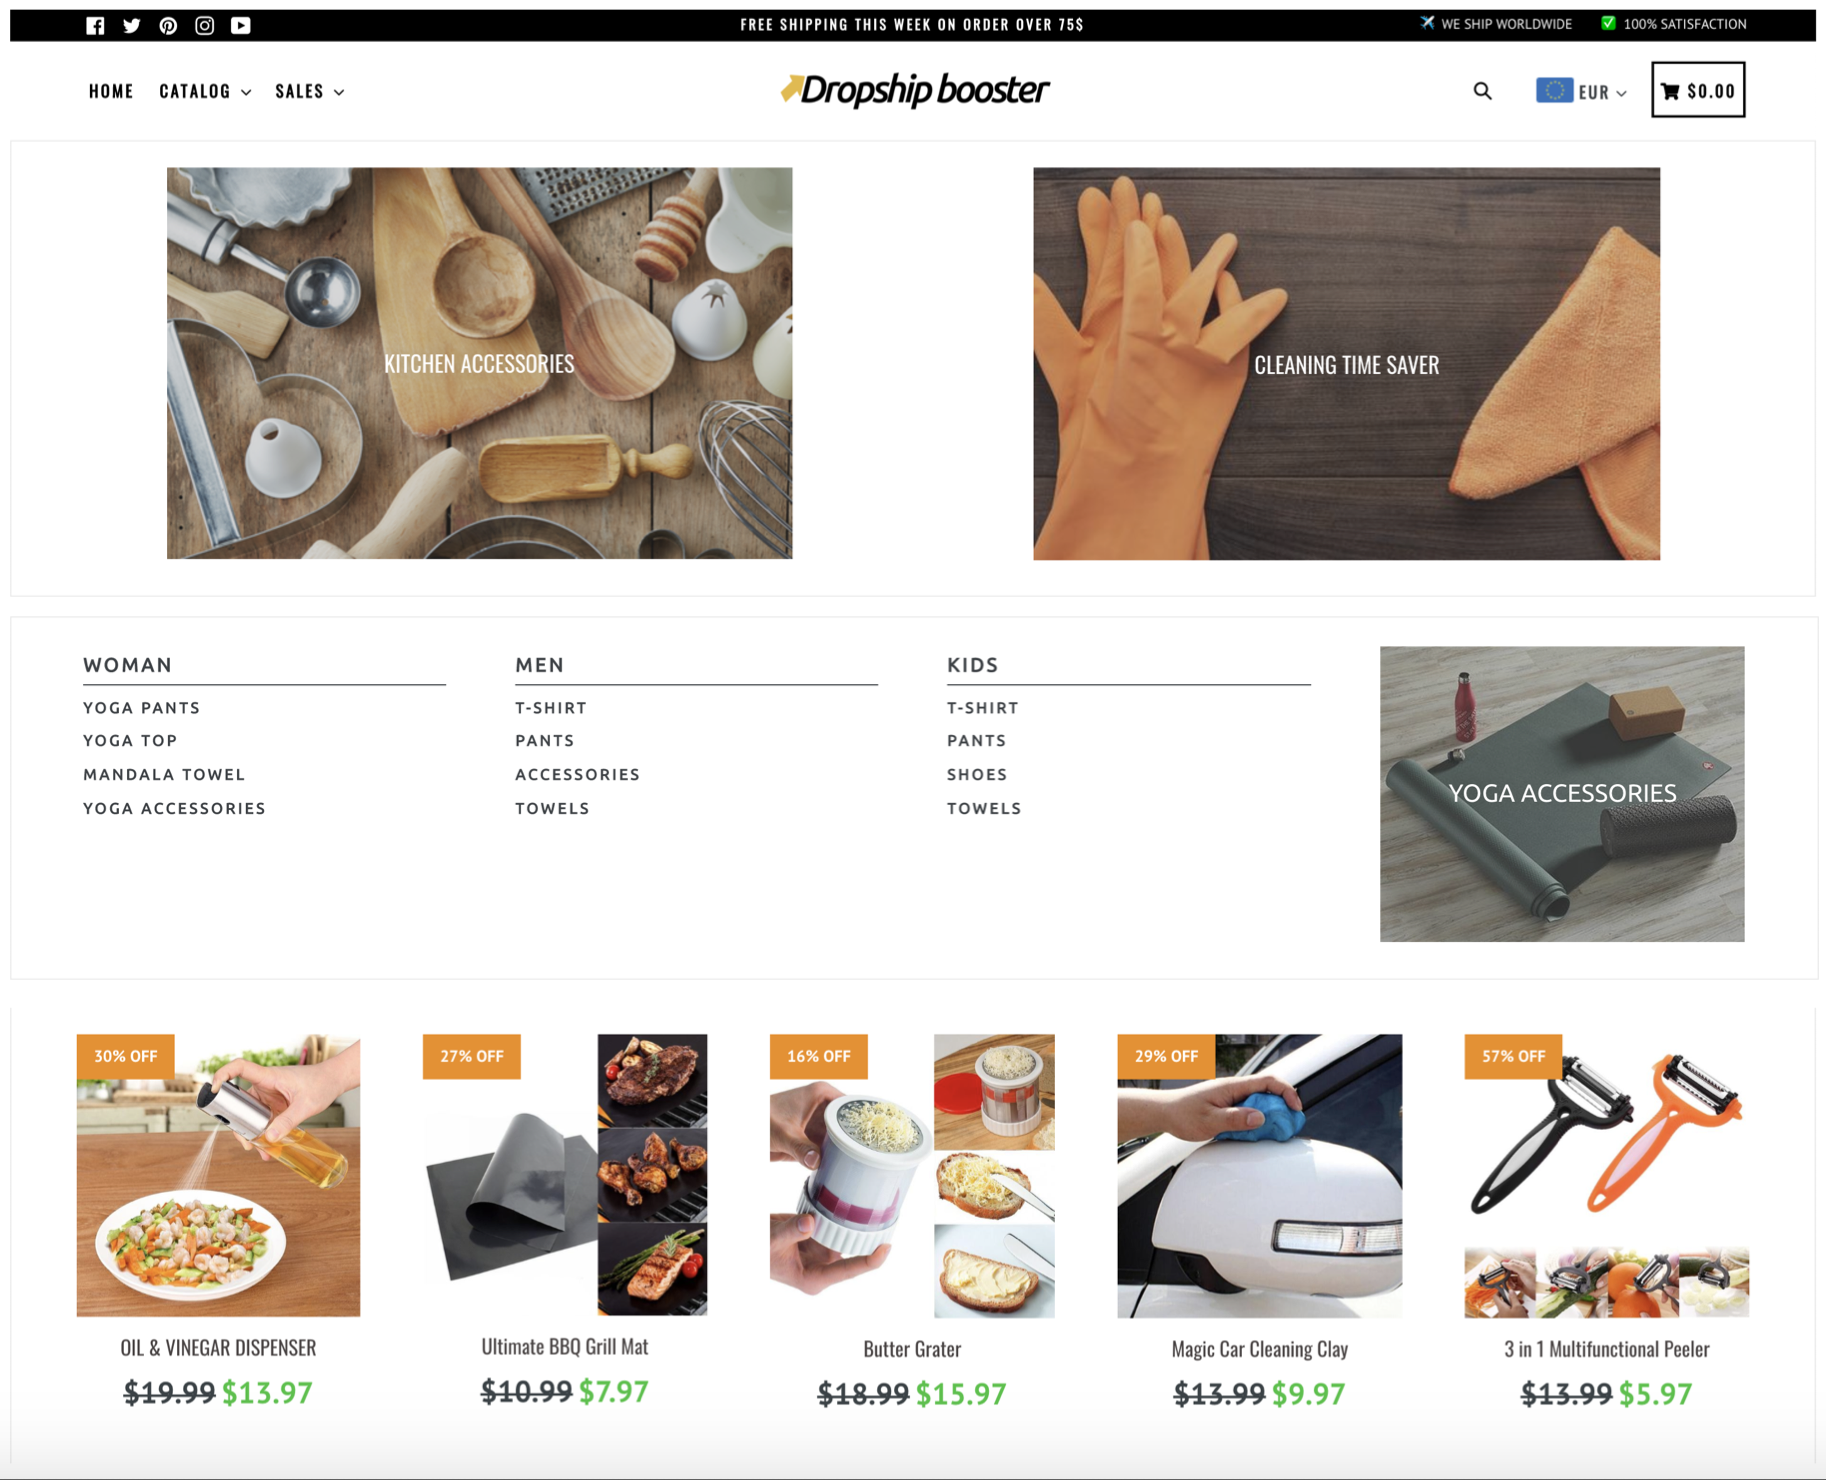
Booster
|
|
| 4 |

|
Blockshop
|
|
| 5 |

|
Retina
|
|
| 6 |

|
Supply
|
|
| 7 |

|
Broadcast
|
|
| 8 |

|
Mobilia
|
|
| 9 |

|
Parallax
|
|
| 10 |

|
Ira
|
|
|
Show More
|
|||
How To Enable All Or Disable Comments On Your Shopify Blog
Here are the steps to enable all or disable comments on your Shopify blog.
Step 1 – Login
Login to your Shopify store using your store credentials.
Step 2 – Blog Posts
From the Shopify admin dashboard, click on the ‘Online Store’ option. This is located under the ‘Sale Channels’ section in the left hand menu options. From there you should select ‘Blog Posts’ to take you through to the blog management screen.
Step 3 – Manage Comments
Now you will see two options within the screen, ‘Manage Blogs’ and ‘Manage Comments’. You want to select the ‘Manage Comments’ option.
Step 4 – Choose The Blog
Shopify sites allow you to have as many blogs as you want on each store. So each blog can have different settings. So click on the title of the blog that you want to edit.
Step 5 – Comments Management
In the blog details page, you will need to scroll down the settings until you find the option that reads ‘Comments’. In this section you can select the option that you want most from the three previous mentioned (allowing all comments, allow comments after moderation and disable comments).
When you’ve made your selection, you can click on the ‘Save’ option.
Effectively Managing Comments on Your Shopify Blog
Shopify provides several features to help you manage your blog effectively. When publishing blog posts in bulk, you can choose to enable or disable comments for each post individually. This allows you to have fine-grained control over which posts accept comments.
Setting a specific publish date for a blog post can be useful for planning your content calendar. If you want to close comments on older posts, you can schedule them to be published with comments disabled after a certain date.
Shopify allows you to customize many aspects of your blog, including changing author names on your Shopify blog. Having clear author attributions can encourage readers to leave comments and engage with your content.
As the blog owner, you have the ability to approve or delete comments on your Shopify blog. Moderating comments ensures the discussion stays on-topic and prevents spam or abusive comments from being publicly visible.
In some cases, you may want to hide blog posts from your main blog page without deleting them entirely. Hidden posts won’t accept new comments, allowing you to archive older discussions.
If you decide to edit a blog name, keep in mind that this will change the URL and may break links to individual posts or comment threads. Communicate any major changes to your readers.
To entice readers and encourage comments, you can display an excerpt from a blog post on Shopify collection pages or your home page. Excerpts give a preview of your post’s content and can attract readers to click through and join the conversation.
Shopify offers many advanced features to enhance your blog, such as SEO optimization, social sharing, and RSS feeds. Leveraging these capabilities and promoting reader engagement via comments can help grow your blog’s reach and impact.
In summary, Shopify provides the tools to granularly manage comments on your blog posts. By carefully moderating discussions and making use of Shopify’s blog features, you can cultivate an active and positive comment section that adds value for your readers.
Conclusion: How To Allow Or Disable Comments On Your Shopify Blog
Comments in blogs are important, they can help with monetization, but not always desirable. It is highly recommended that you moderate all comments on your Shopify blog, to prevent spam from being published. You should reject any comment that has no real meaning to your store and links to another site. However, if there is true value to the comment, and it adds to the conversation, you can allow comments with links, these are valuable members of your community.
Be sure that you understand however that this can have long term consequences. Managing all those comments can be very time-consuming if you get a lot of traffic. If you become large enough, however, a member of your team can manage these comments. Or you can hire a VA to help you out.
And remember, you can use this app to recommend other blog posts and improve the stickiness of your website.
-
Is it possible to block certain users from commenting on my Shopify blog?
Shopify doesn’t offer a direct user-blocking feature, but you can manually delete unwanted comments or use moderation to filter them.
-
Is it possible to export comments from my Shopify blog for analysis?
Shopify doesn’t provide a direct export feature for comments, but you can use apps or manual methods to gather comment data.
-
Is there a way to automatically close comments on older blog posts in Shopify?
Shopify doesn’t have an automatic feature for this, but you can manually disable comments on older posts to manage engagement better.


 PageFly Landing Page Builder
  Shopify
  SEMrush
  Website Maintenance
  UpPromote