How to Clear Your Cache on Shopify 2026
Last modified: June 10, 2026
To clear your cache on Shopify, you have three layers to consider: your browser cache (the most common fix when you can’t see updates to your store), the Shopify theme cache (when published changes don’t show up for customers), and third-party app caches (when an app’s settings or display look stale). This guide covers each layer step-by-step, with the Shopify-specific cache flows that browser-only guides skip, plus a quick fix for the most common admin-change-not-showing problem.
The shortcut answer: in your browser, press Ctrl+Shift+R on Windows (or Ctrl+F5) and Cmd+Shift+R on Mac to force a hard refresh of any Shopify page. That clears the browser cache for that single page and shows you the latest version. If you need a fuller clear, the per-browser steps below cover the full settings flow.
Why You Might Need to Clear Cache on Shopify
Caching is what makes your store load fast. Your browser, Shopify’s servers, and any CDN in front of your store all keep recent copies of pages, images, and theme assets to avoid re-downloading them on every visit. The problem comes when you publish a change and the cached old version is still being shown. Common scenarios for Shopify merchants:
- You edited a product description, hit save, and the storefront still shows the old text.
- You uploaded a new logo or hero image and customers are seeing the old one.
- You changed theme settings (color, font, layout) and the change isn’t visible.
- You installed or updated an app and its widget shows old data.
- You edited CSS or a Liquid file and the styling isn’t applying.
- You’re testing checkout and the form still references a removed field.
In every case, clearing the right cache layer is the fix. The sections below cover each layer plus the specific symptom that points to it.
Clearing the Shopify Theme Cache
Shopify caches your published theme on its servers for performance, typically around 30 seconds, sometimes longer. There’s no “clear theme cache” button in admin because Shopify handles theme cache invalidation automatically when you publish. But if a published change isn’t showing:
- Wait 30 to 60 seconds after publishing. The server-side cache will refresh on its own.
- Force-refresh your storefront in the browser:
Ctrl+Shift+R(Windows) orCmd+Shift+R(Mac). This bypasses your local browser cache. - If still stuck, open the page in an incognito or private window. That bypasses both your browser cache AND any third-party CDN cache between Shopify and you.
- If it still doesn’t update, check whether you’re previewing the right theme. Under Online Store > Themes, confirm the theme you edited is the published one (the one labeled “Live”).
For unpublished theme drafts, the theme editor has its own preview cache. To force a full refresh of a draft preview, click the refresh icon at the top of the theme editor or close and reopen the editor entirely.
Force-Refresh Shopify Theme Assets (CSS, JS, Images)
Theme assets like CSS, JavaScript, and image files are cached more aggressively than HTML pages, often for hours, by Shopify’s CDN and your browser. A hard refresh sometimes isn’t enough. Three tricks merchants and theme developers use:
- Append a version query string to the asset URL when testing: open Edit code, find the line that references your stylesheet (usually something like
{{ 'theme.css' | asset_url | stylesheet_tag }}) and temporarily change it to{{ 'theme.css' | asset_url }}?v=2. Bumping the number forces every browser and CDN to treat it as a new file. Revert once your edit is confirmed working. - Re-save the file in the code editor. Saving a theme file in Online Store > Themes > Edit code updates the asset’s last-modified timestamp, which Shopify’s CDN uses for cache validation. Even an identical re-save works.
- Use the
?_=12345cache-buster on any storefront URL. Adding any unique query string (https://yourstore.com/products/foo?_=987) makes the URL look new to every cache layer in between. Useful for one-off checks without modifying the theme.
If you’ve updated an image and the old one is still showing, the fix is almost always file-name based. Re-upload the new image with a different file name (for example, hero-v2.jpg instead of hero.jpg) and update the reference. Same-name re-uploads often resolve to the cached version for hours.
When Admin Changes Aren’t Showing Up On Your Storefront
This is the search behind most “clear cache on Shopify store” queries: you changed something in admin, hit save, opened your storefront, and nothing changed. Here’s the order to check, fastest fix first:
- Wait 30 to 60 seconds, then hard-refresh. 90% of “it’s not updating” reports resolve here. The server-side cache simply hasn’t expired yet.
- Open the page in incognito. If it shows the new version in incognito but not your normal window, your browser cache is the culprit. Clear it or hard-refresh.
- Check which theme is live. Editing a draft theme that isn’t published is the #2 cause of “my change isn’t showing.” The theme labeled “Live” under Online Store > Themes is the one customers see.
- Disable any page-builder or customizer app. Apps like PageFly, Shogun, GemPages, and Zipify inject content over your theme. Temporarily disable the relevant app in Apps and check the page again.
- Check your CDN. If you use Cloudflare, Bunny, or another CDN proxy in front of your shop, log into the CDN dashboard and purge the cache. Cloudflare’s “Purge Everything” is the brute force option; “Purge by URL” is cleaner.
- Check Shopify’s status page. If shopifystatus.com shows storefront-render issues, your change is fine, it’s their cache that’s lagging.
Clearing the Shopify Admin Search History
Shopify Admin’s search bar caches your recent searches. To clear them, open the search bar, scroll to the bottom of the suggestions, and click “Clear search history.” This is purely a UI nicety. It doesn’t affect anything customer-facing.
One important note: Shopify Admin itself doesn’t have a “clear admin cache” button. The admin doesn’t aggressively cache the way the storefront does. If admin pages look stale, a normal browser refresh almost always resolves it.
Clearing Third-Party App Caches
Shopify apps usually maintain their own caches independent of Shopify. If an app’s widget on your storefront isn’t updating after you change settings:
- Open the app’s admin (from Apps in your Shopify admin).
- Look for a “Clear cache,” “Refresh,” or “Sync” option in the app’s settings. Most reputable apps include this.
- If there’s no such option, save the app’s settings again (sometimes a re-save invalidates the cache).
- If the issue persists, contact the app’s support. They can often clear server-side caches you don’t have access to.
Apps that frequently need cache clearing: review apps (Judge.me, Yotpo, Stamped), product feed apps, recommendation widgets, and pop-up apps. These all keep product or content caches that occasionally drift out of sync with Shopify.
Clearing Your Browser Cache for Shopify
If the Shopify-side cache is fine but you still see old pages, your browser cache is the culprit. Steps for the major browsers, with the keyboard shortcut that skips the menu entirely:
Google Chrome
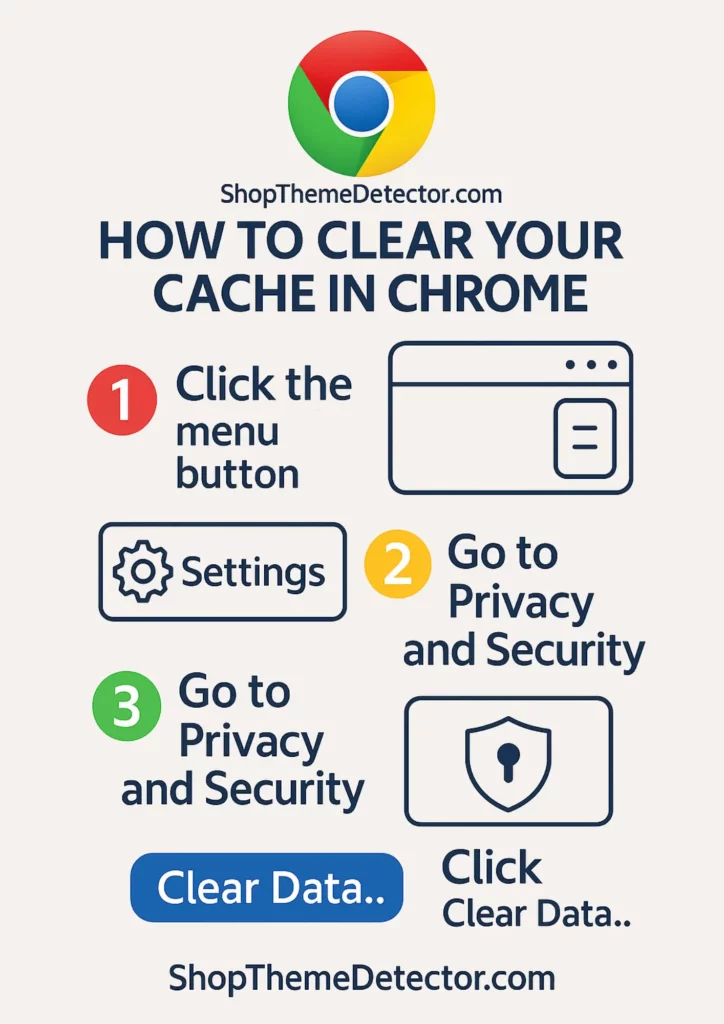
Shortcut: Ctrl+Shift+Delete (Windows) or Cmd+Shift+Delete (Mac) opens the Clear Browsing Data dialog directly. For a per-page hard refresh, Ctrl+F5 or Ctrl+Shift+R on Windows, Cmd+Shift+R on Mac.
- Click the three-dot menu in the top-right corner of Chrome.
- Select More tools > Clear browsing data.
- In the dialog, choose a time range. “All time” clears everything; “Last hour” is enough if you just want the latest changes.
- Check Cached images and files. You can leave cookies and other data unchecked if you want to stay logged in.
- Click Clear data.
Mozilla Firefox
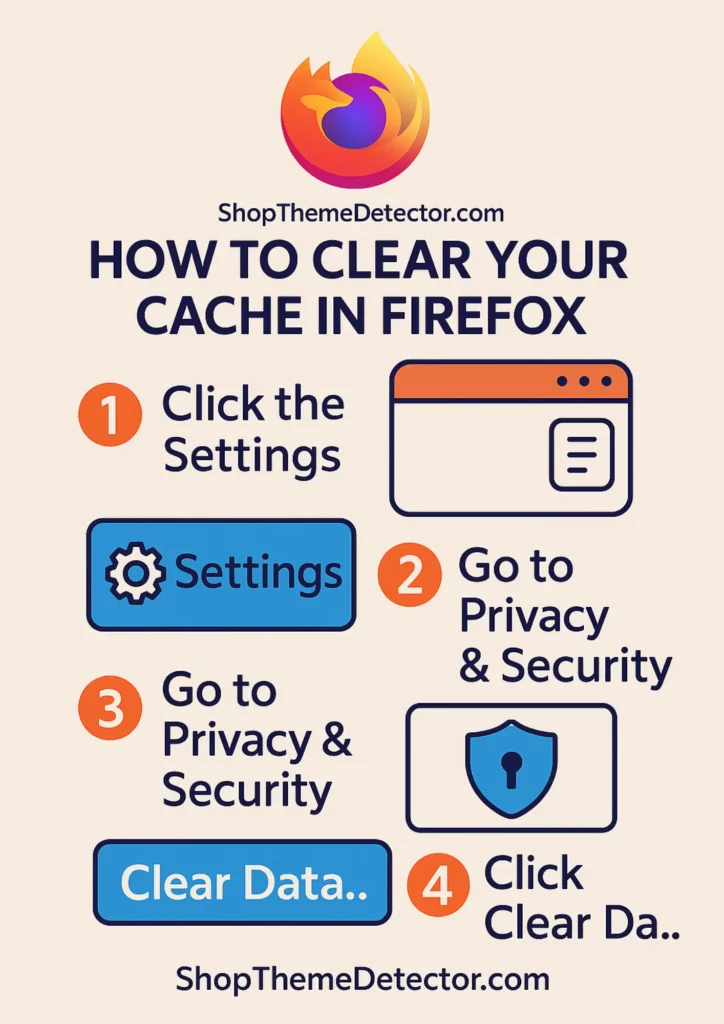
Shortcut: Ctrl+Shift+Delete (Windows) or Cmd+Shift+Delete (Mac) opens Clear Recent History. Ctrl+F5 or Cmd+Shift+R for a hard refresh.
- Click the three-line menu in the top-right corner.
- Go to Settings > Privacy & Security.
- Scroll to Cookies and Site Data and click Clear Data.
- Check Cached Web Content (uncheck Cookies if you want to stay logged in).
- Click Clear.
Safari (Mac)
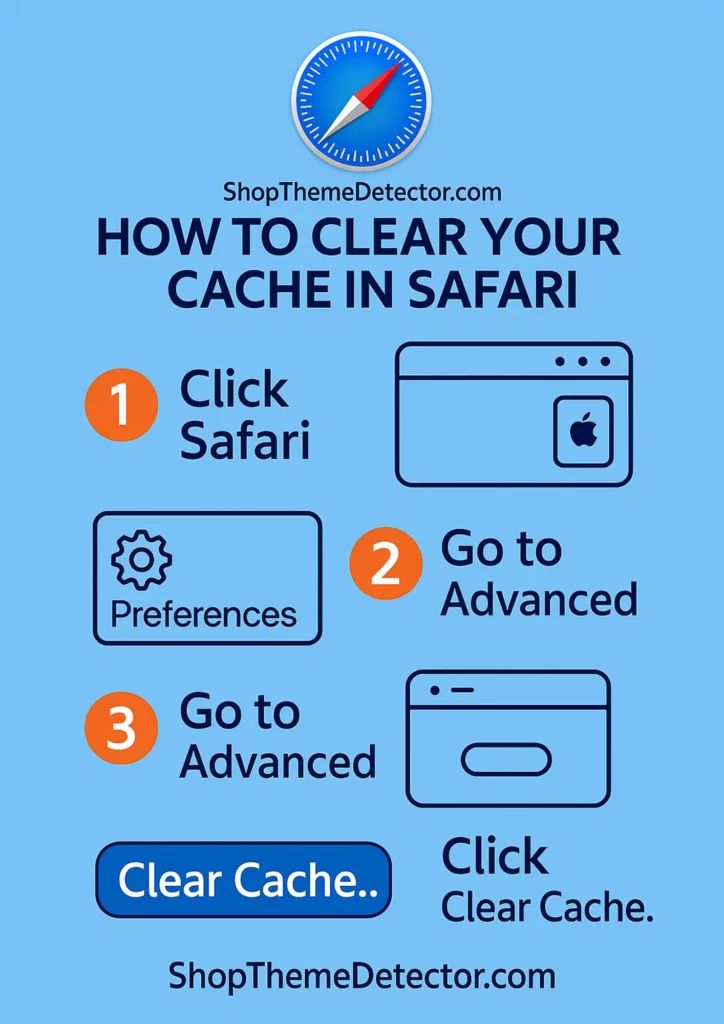
Shortcut: Once the Develop menu is enabled, Cmd+Option+E empties Safari’s cache instantly without a confirmation dialog. Cmd+Shift+R hard-refreshes the current page; Cmd+Option+R works on older Safari versions.
- Open Safari, then in the top menu bar go to Safari > Settings (or Preferences on older Mac OS).
- Click the Advanced tab and check “Show Develop menu in menu bar.”
- Now in the top menu, choose Develop > Empty Caches.
- For a fuller clear, go to Safari > Clear History, choose “all history,” and confirm.
Microsoft Edge
Shortcut: Ctrl+Shift+Delete (Windows) opens Clear Browsing Data directly. Ctrl+F5 hard-refreshes.
- Click the three-dot menu in the top-right corner of Edge.
- Select Settings > Privacy, search, and services.
- Under “Clear browsing data,” click Choose what to clear.
- Choose a time range and check Cached images and files.
- Click Clear now.
Mobile and Incognito Testing on Shopify
Desktop cache clearing has no effect on mobile devices, and a lot of Shopify storefront bugs only show up on phones. Two practical ways to test:
- iPhone Safari. Go to Settings > Safari > Clear History and Website Data. To clear only one site’s data without losing the rest of your history: Settings > Safari > Advanced > Website Data, then swipe-left on the entry and delete. Enable Safari’s Develop menu on your Mac (described above) and you can also clear iPhone caches over USB from Develop > [iPhone name] > Empty Caches.
- Android Chrome. Open Chrome, tap the three-dot menu, then Settings > Privacy and security > Clear browsing data. Choose a time range and check Cached images and files.
- DevTools device emulation. In desktop Chrome or Edge, press
F12to open DevTools, then click the device toolbar icon (orCtrl+Shift+M/Cmd+Shift+M). You can simulate iPhone, iPad, and Android viewports and the “Disable cache” checkbox in the Network tab keeps every request uncached while DevTools is open. This is the fastest way to test a Shopify storefront change at multiple screen sizes without touching a real device. - Incognito on any platform bypasses cookies, cache, and most extensions. It’s the cleanest “first-time visitor” test you can run.
When Cache Clearing Doesn’t Fix It
If you’ve cleared every cache layer and the issue persists, the problem isn’t cache. Common alternatives:
- You’re editing the wrong theme. Check that the theme labeled “Live” is the one you’ve been editing. It’s easy to edit a draft theme by accident.
- An app is overriding your changes. Some apps (especially page-builder and customizer apps) inject content over your theme. Disable the app temporarily to see if the issue resolves.
- CDN cache. If your store uses Cloudflare or another CDN in front of Shopify, that adds a fourth cache layer. Log into the CDN dashboard and purge the cache there.
- DNS cache. If you recently changed your domain or SSL settings and they’re not propagating, your computer’s DNS cache may still have the old record. On Mac:
sudo dscacheutil -flushcache; sudo killall -HUP mDNSResponder. On Windows:ipconfig /flushdnsin Command Prompt. - Service worker cache. Some Shopify PWA themes register a service worker that caches assets locally. Open DevTools > Application > Service Workers, click Unregister, then hard-refresh.
Shopify Cache Troubleshooting Checklist
Use this order when a change isn’t showing. Each step takes 30 seconds and rules out one cache layer:
- Wait 60 seconds after publishing.
- Hard-refresh:
Ctrl+Shift+RorCmd+Shift+R. - Open the page in incognito or a private window.
- Confirm the theme labeled “Live” is the one you edited.
- Clear browser cache (per the browser-specific steps above).
- If using a CDN, purge it from the CDN dashboard.
- If the issue is on mobile, clear the mobile browser’s cache too.
- If still broken, disable any page-builder app and check again.
For more troubleshooting, see our guide on filtering your own visits from analytics, and our broader hub of technical and developer tools in Shopify.
-
Will clearing cache in Shopify delete my website’s data?
No. Clearing cache never deletes your products, orders, customers, theme files, or any stored data. The cache only holds temporary copies of pages and assets for faster loading. Clearing it just forces Shopify and your browser to fetch fresh versions. The only data risk to be aware of is if you also check the Cookies box when clearing your browser cache, that signs you out of websites, but it does not affect your Shopify store contents.
-
Can I clear the Shopify store cache directly from the admin?
Shopify admin doesn’t have a manual “clear store cache” button - and that’s by design. The Shopify storefront cache automatically refreshes within 30-60 seconds whenever you publish a theme change. There’s nothing to manually trigger. If you want to verify a published change is live, force-refresh your storefront with Ctrl+Shift+R (or Cmd+Shift+R on Mac), or open the page in an incognito window to bypass your browser cache.
-
How do I clear my browser cache to see changes on Shopify?
The fastest way is a hard refresh: press Ctrl+Shift+R on Windows or Cmd+Shift+R on Mac while viewing your storefront. This clears the cache for that single page only. For a full clear, open your browser settings (Ctrl+Shift+Delete or Cmd+Shift+Delete shortcuts both work), choose a time range, check Cached images and files, and click Clear. You can leave cookies unchecked to stay signed in.
-
How often does Shopify clear its server-side cache?
Shopify’s server-side cache for storefront pages typically refreshes within 30-60 seconds of a publish action. Theme assets (CSS, JavaScript, images) are cached longer - anywhere from a few minutes to a few hours, depending on the asset type and CDN edge node. The 30-60 second figure is the practical wait time after publishing a change before you should expect to see it on the live storefront.
-
Why doesn’t my Shopify store update after I publish a change?
Most often it’s a 30-60 second delay while Shopify’s server-side cache refreshes - wait, then force-refresh your browser with Ctrl+Shift+R or Cmd+Shift+R. If after a minute the change still isn’t visible, you’re probably either viewing a cached browser version (clear browser cache) or you edited a draft theme rather than the live theme (check Online Store > Themes and confirm the theme you edited is labeled “Live”). A third-party CDN like Cloudflare in front of your store adds another cache layer that needs purging from the CDN dashboard.
-
Does Shopify have an admin cache I need to clear?
Shopify Admin doesn’t have an aggressive admin-side cache the way the storefront does. The admin search bar maintains a recent-searches cache (you can clear it from the search dropdown), but most admin views fetch fresh data on every page load. If admin pages look stale, a normal browser refresh fixes it. There’s no admin-cache equivalent to the storefront’s 30-60-second refresh window.
Conclusion: Clear the Right Cache Layer for the Right Problem
Most “Shopify cache” issues come down to picking the right cache to clear. If a published change isn’t showing in the storefront and you’re the only one seeing the old version, it’s your browser cache, so hard-refresh or clear it. If multiple people are seeing the old version, it’s the Shopify server-side theme cache, which clears itself in 30 to 60 seconds. If a theme asset like CSS or JavaScript is stuck, append a ?v=2 query string to force the CDN to treat it as a new file. If an app’s widget is stale, it’s the app’s own cache, so check the app’s settings or contact its support. Working through the troubleshooting checklist above takes about five minutes total and rules out every layer in order.
Shopify Plus merchants with high-traffic stores can also reach out to their Merchant Success Manager for advanced cache-management guidance. Plus accounts have access to additional CDN controls that aren’t visible on standard plans.


