How to Apply a Template to a Blog on Shopify
Last modified: December 23, 2025

| # | Name | Image | |
|---|---|---|---|
| 1 |
|
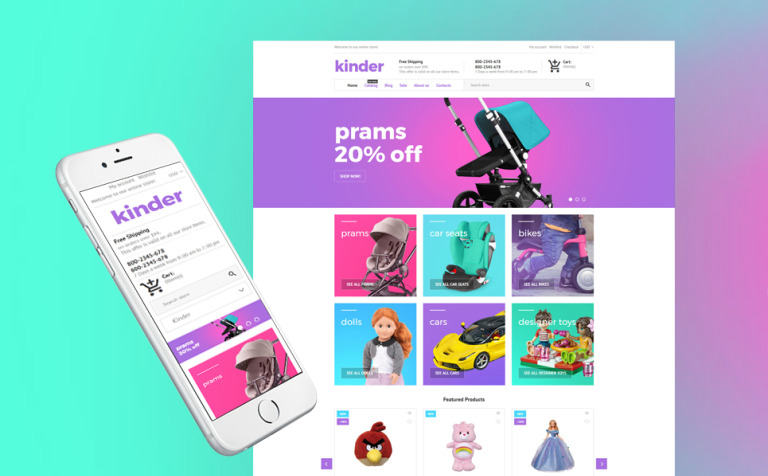
Kinder
|
|
| 2 |
|
Maker
|
|
| 3 |

|
Booster
|
|
| 4 |

|
Blockshop
|
|
| 5 |
|
Retina
|
|
| 6 |
|
Broadcast
|
|
| 7 |
|
Parallax
|
|
|
Show More
|
|||
-
Will applying a new template to my blog affect existing content?
Applying a new template changes only the layout and design of your blog posts, without altering the existing content or its arrangement.
-
Can I apply a custom-made template to my Shopify blog?
Yes, applying custom-made templates is possible, provided they are compatible with Shopify’s platform and adhere to the blog structure requirements.
-
How do I know if a template is right for my Shopify blog?
Select a template that complements your brand and content. It’s important to preview the template to ensure it meets your aesthetic and functional requirements.
Conclusion: How to Apply a Template to a Blog on Shopify
The above step-by-step instructions will help you apply a template to your Shopify blog posts. There are several advantages to this, and you can have more than one template to choose from. You must have your blog post written first and the template designed first. If you need more help in managing your blog posts, you can use this app to help you.
Remember that the customization of Shopify themes extends beyond just blog templates. You can tailor various aspects of your store’s design to create a unique and branded experience for your customers.