How To Add Subcategories In Shopify
Last modified: March 25, 2026

| # | Name | Image | |
|---|---|---|---|
| 1 |

|
Galleria
|
|
| 2 |
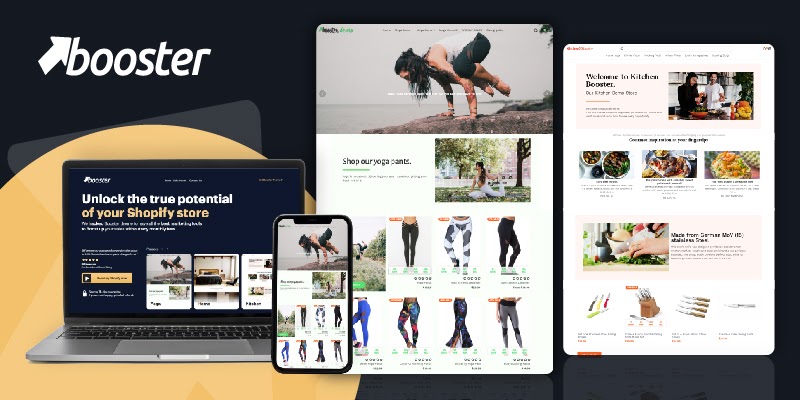
|
Booster
|
|
| 3 |

|
Symmetry
|
|
| 4 |
|
Empire
|
|
| 5 |
|
Avenue
|
|
| 6 |
|
Boost
|
|
|
Show More
|
|||
-
Can I add multiple levels of subcategories in Shopify?
While Shopify primarily supports one level of categorization through collections, you can create an illusion of multi-level subcategories using link lists, menus, and clever naming conventions. However, this might require some manual organization and potentially some theme customization.
-
How do I rearrange the order of my subcategories?
In Shopify, you can rearrange the order of your collections (subcategories) by going to the “Collections” section and manually dragging them to your desired order. Alternatively, you can also set an automated sort order based on conditions like product title, price, or date added.
-
Is there a limit to the number of subcategories I can add?
Shopify does not impose a strict limit on the number of collections (subcategories) you can create. However, for usability and navigation purposes, it’s advisable not to overwhelm your customers with too many categories.
Enhancing Subcategory Creation in Shopify
Understanding Shopify’s Collection System
Shopify’s default setup doesn’t have a direct subcategory feature. Instead, it uses collections, which act as categories.
However, these collections lack a hierarchical structure. To create a semblance of subcategories, you can use the navigation menu and some theme tweaks.
Steps to Create Subcategories
Start by creating a main category, like “Dog Toys.” Use the rearrange feature to drag desired subcategories under this main category. If you need further divisions, you can even set up sub-subcategories.
For a more visual approach, consider using the theme editor. Here, you can create templates that display your subcollections.
This method enhances the user experience by grouping related products together, making navigation more intuitive.
Benefits of Organized Subcategories
Well-structured subcategories offer multiple advantages. They improve SEO by clustering related content, which search engines favor.
They also enhance the shopping experience by making product searches more straightforward and logical for customers.
Strategies in Subcategory Addition in Shopify
Plan Before Implementation
Before diving into the process, it’s essential to have a clear strategy. Determine the main categories and potential subcategories.
Sketching a visual representation or a flowchart can help visualize the structure and ensure no category is overlooked.
Consistency is Key
Maintain a consistent naming convention for categories and subcategories. This not only aids in organization but also ensures that customers can easily understand and navigate the store.
For instance, if using singular terms for main categories, ensure subcategories follow the same pattern.
Test and Iterate
After setting up subcategories, it’s crucial to test the user experience. Navigate the store as a customer would. If any part of the process feels clunky or unintuitive, make the necessary adjustments.
Regularly revisiting and refining the subcategory structure can lead to a more streamlined shopping experience.
Monitor Analytics
Use Shopify’s in-built analytics or third-party tools to monitor how customers interact with the subcategories.
Tracking metrics like click-through rates on subcategory links or time spent on subcategory pages can provide insights into what’s working and what might need adjustment.
Advanced Techniques for Subcategories
Using Navigation Menus
One way to simulate subcategories is through the navigation menu. Add a menu item, then nest another option under it by dragging it to the right. This creates a dropdown effect, giving the appearance of subcategories.
Employing Pages for Subcollections
Create a page template that showcases all collections. Add a multi-column section to this page, linking it to a collection list. This method, while not perfect, offers a structured way for customers to navigate your store.
Radio Buttons for Collection Pages
If you prefer radio buttons over dropdown menus, Shopify allows this too. By adding specific code to your theme, you can display collections as radio buttons, offering another way for customers to navigate your product range.
Conclusion: How To Add Subcategories In Shopify
Categories are a great way to help your site be easier to navigate as you optimize your product set up. This can help with SEO and improve conversions on your website. Additionally, offering an email signup option or encouraging visitors to subscribe to your newsletter can further enhance customer engagement and drive more conversions on your website.


