Starting With Basic Shopify: Essentials for New Online Stores
Last modified: June 14, 2026

| # | Name | Image | |
|---|---|---|---|
| 1 |
|
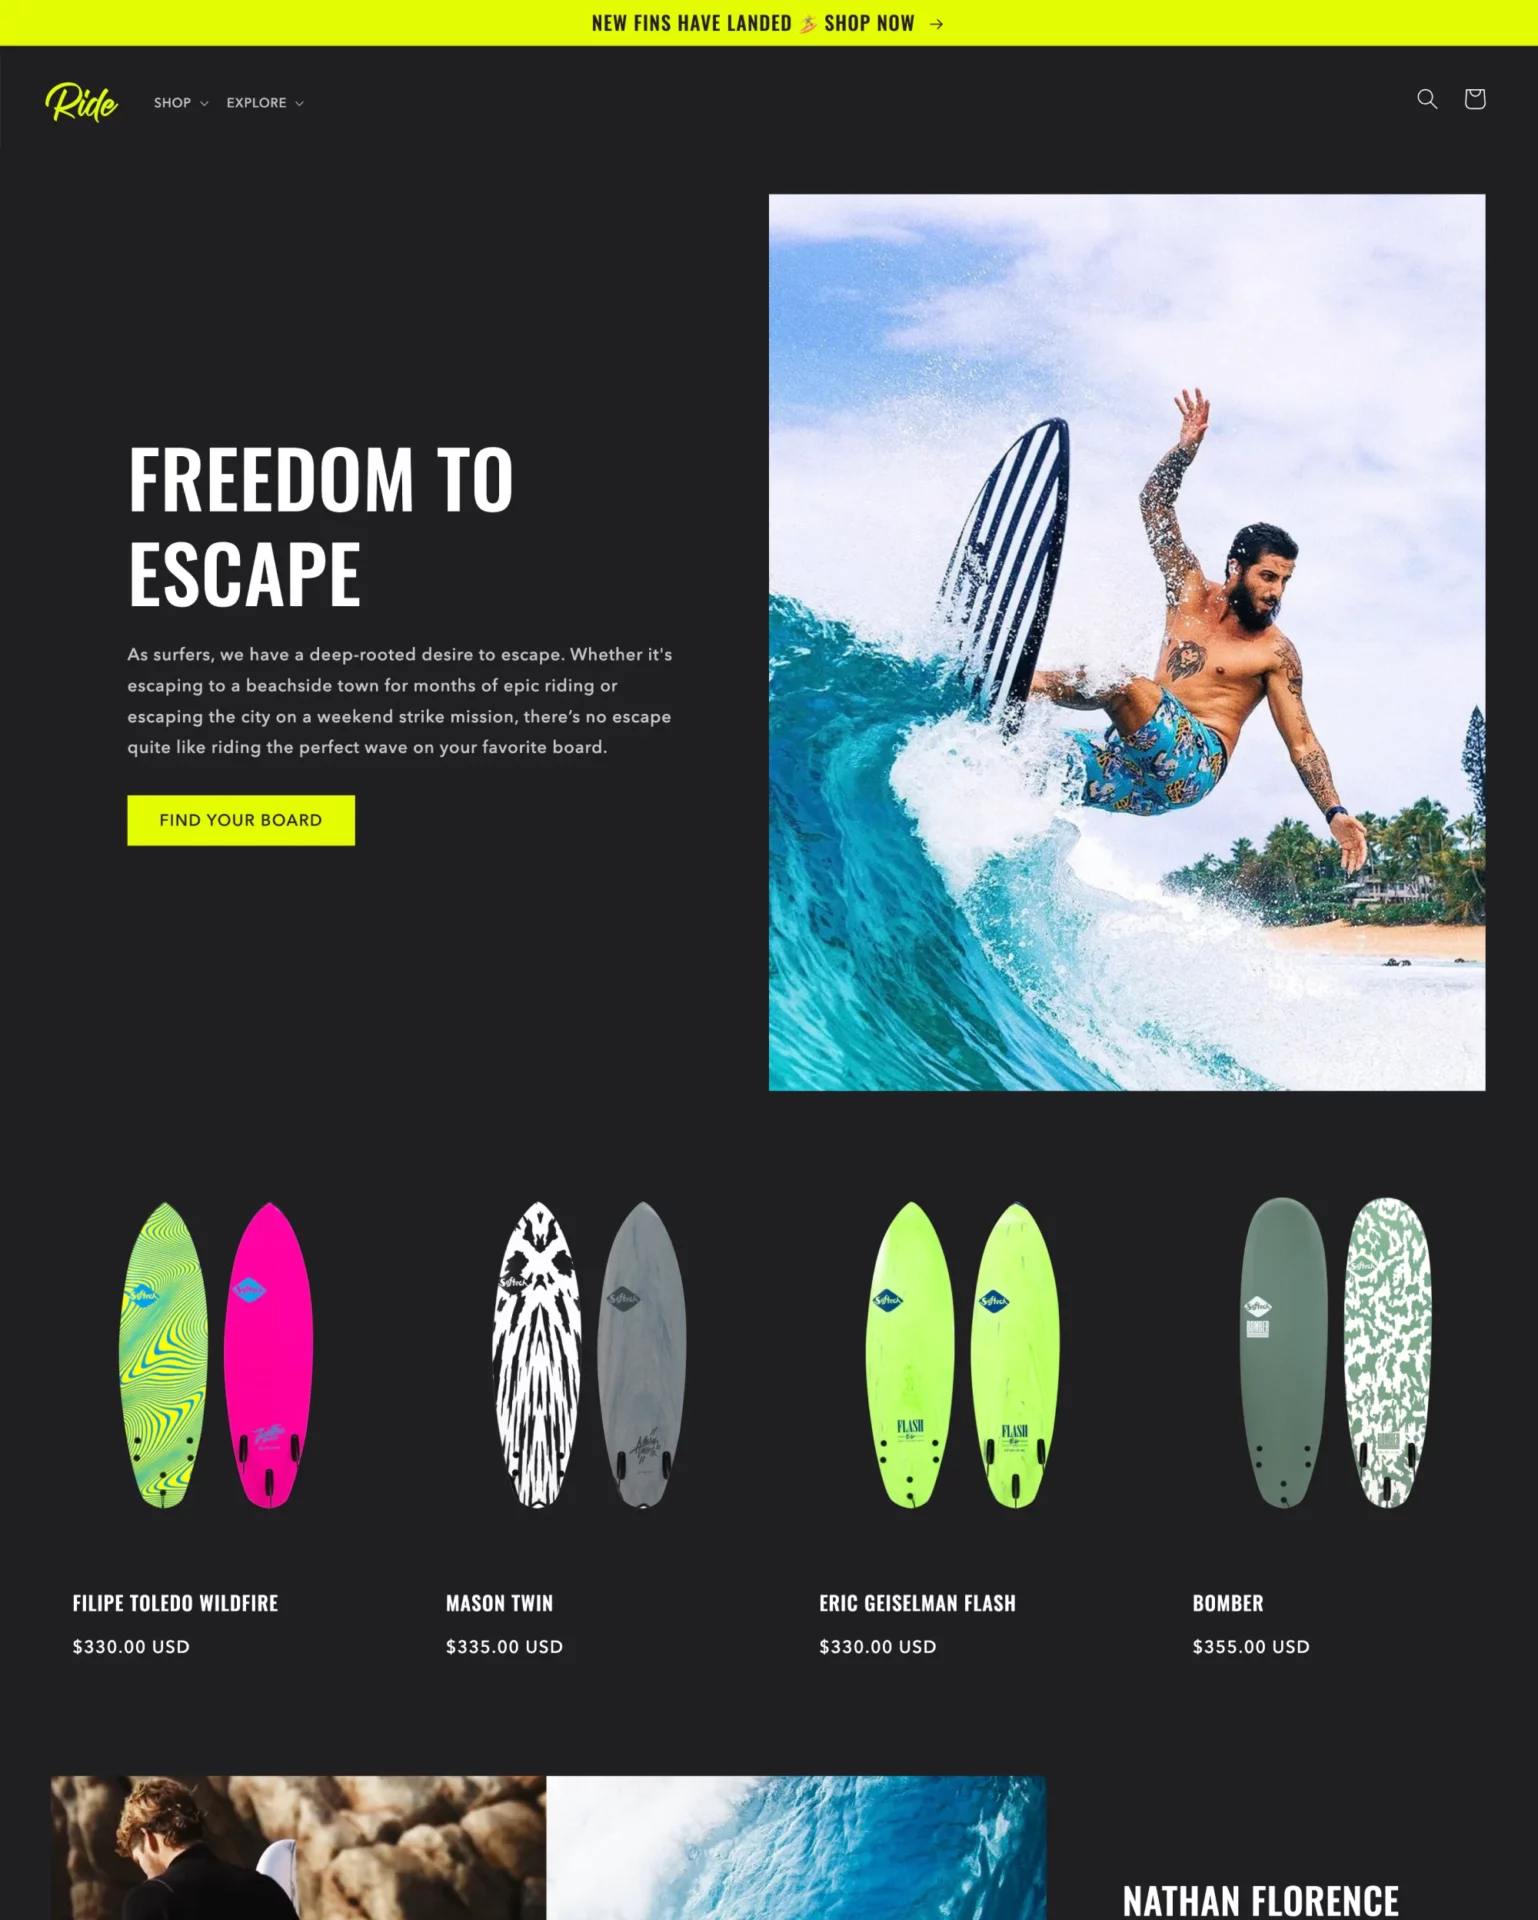
Ride
|
|
| 2 |
|
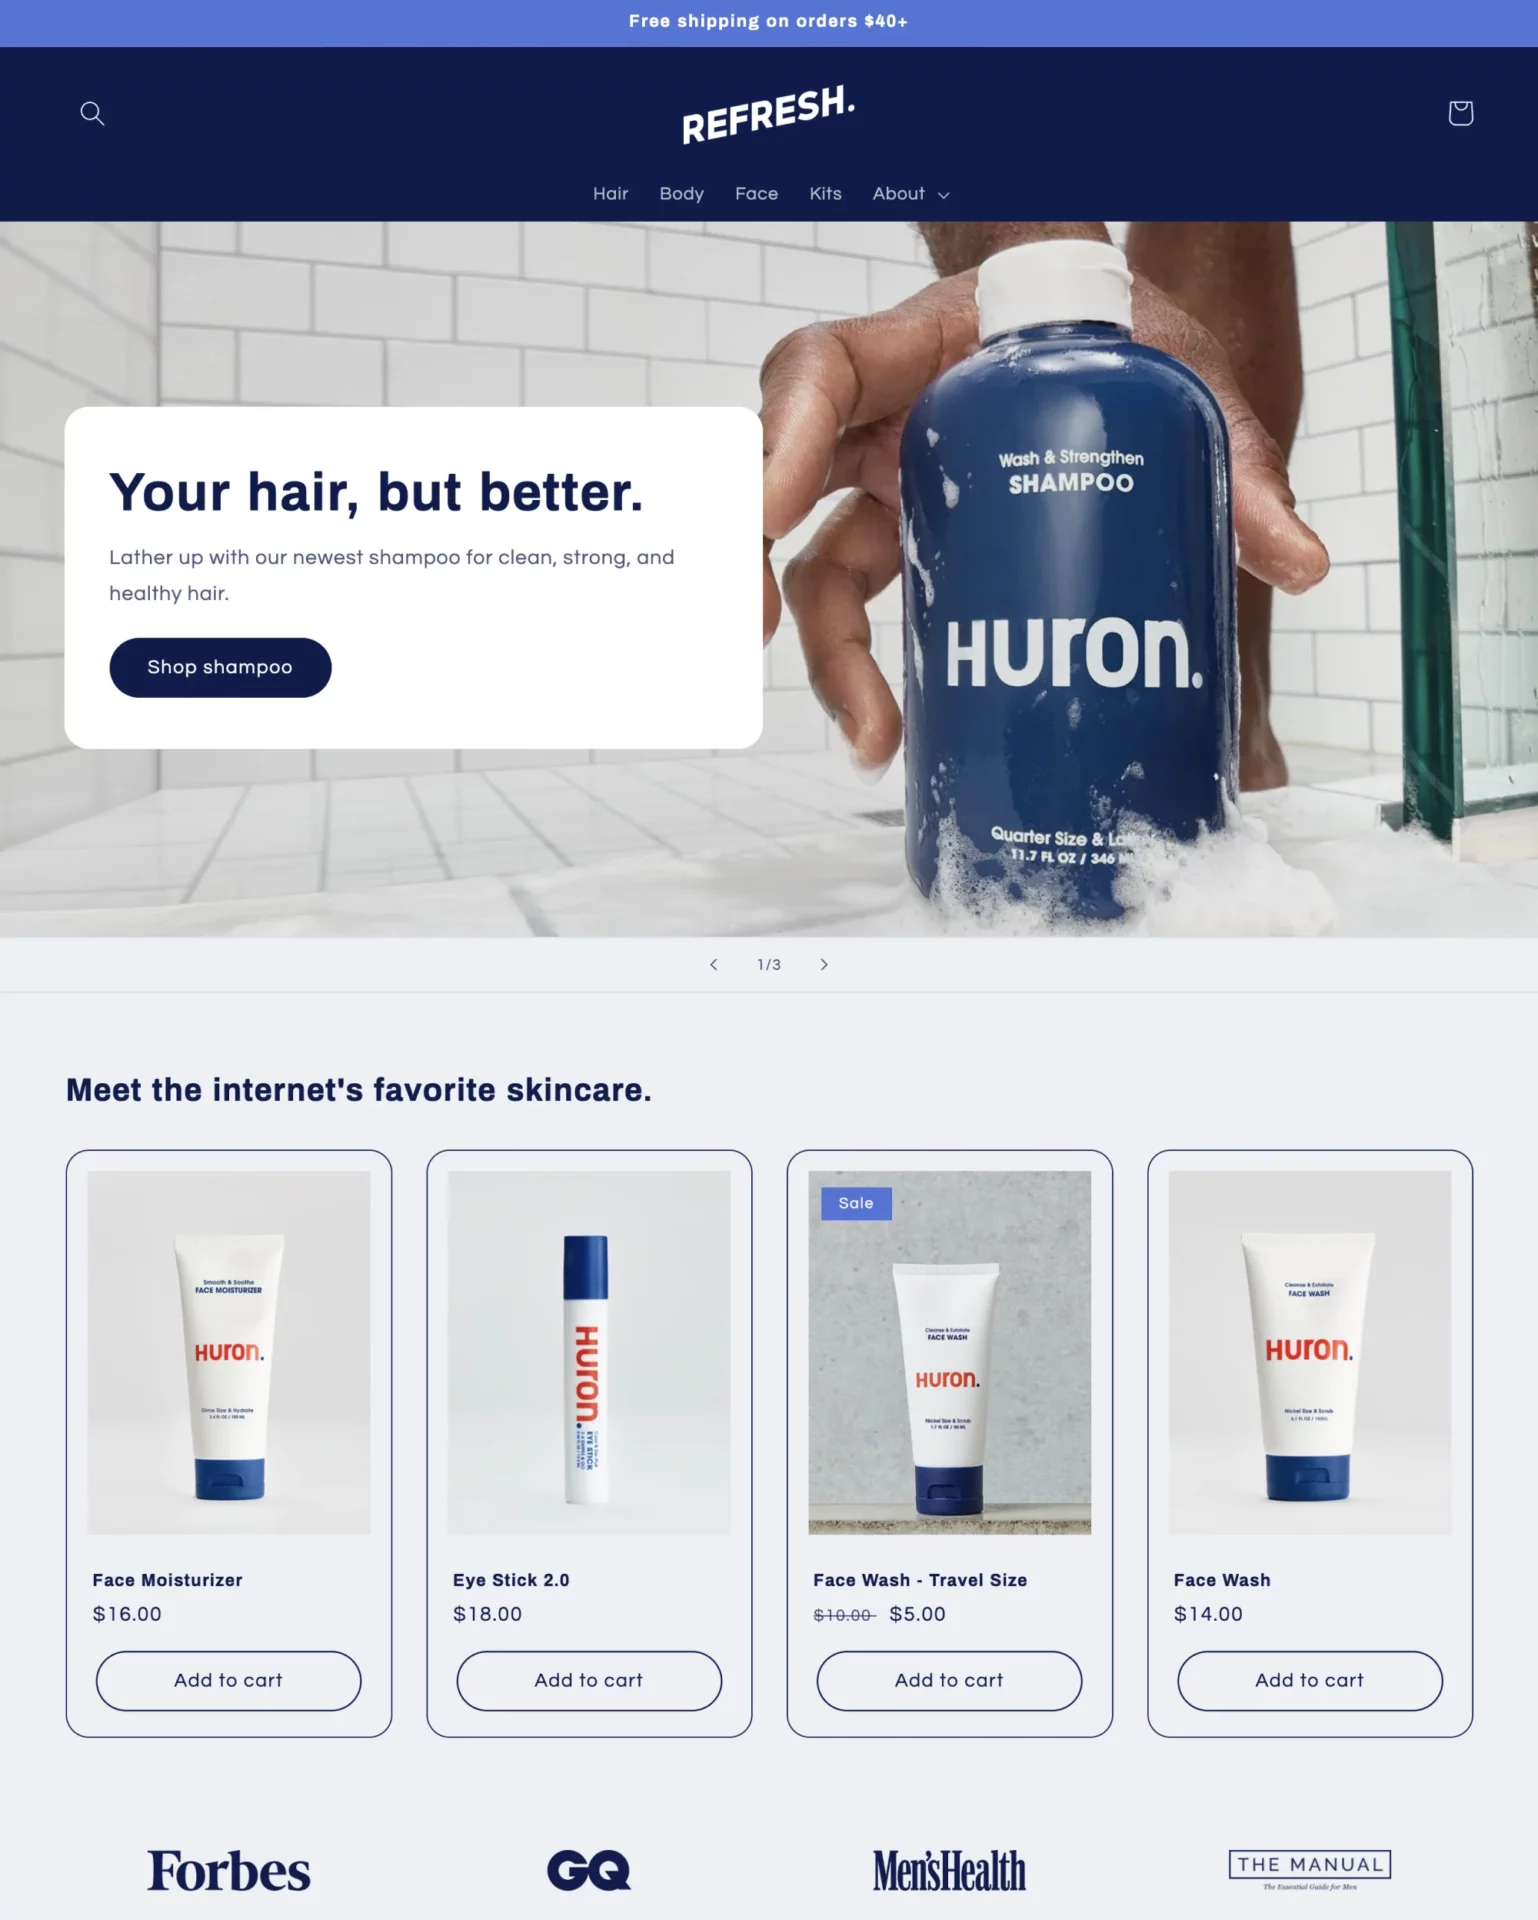
Refresh
|
|
| 3 |
|
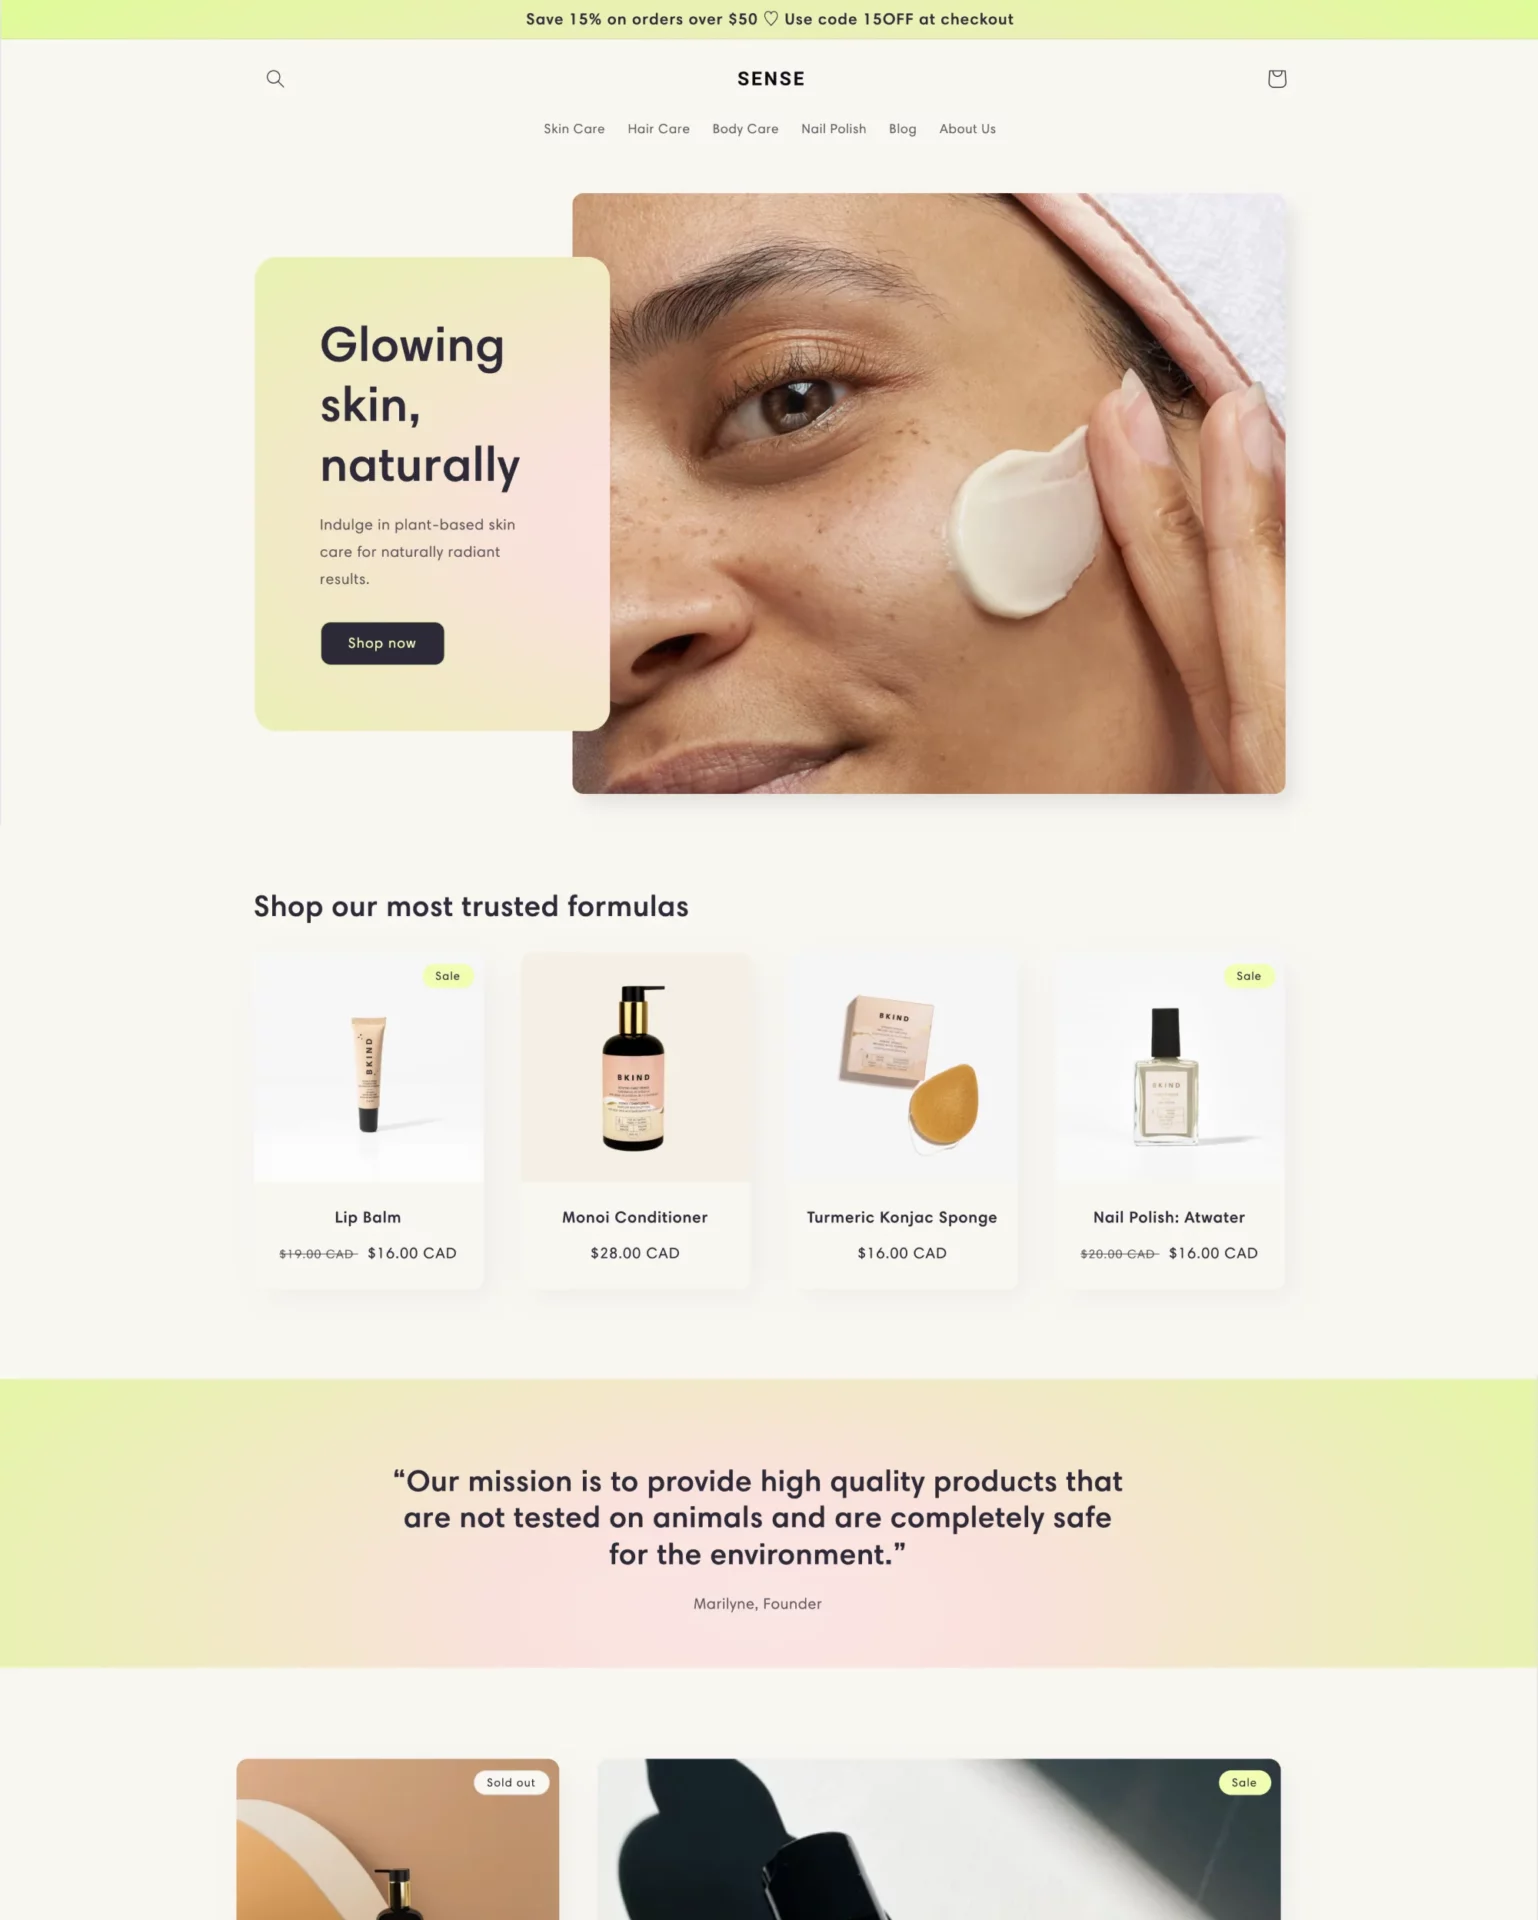
Sense
|
|
| 4 |

|
Dawn
|
|
| 5 |
|
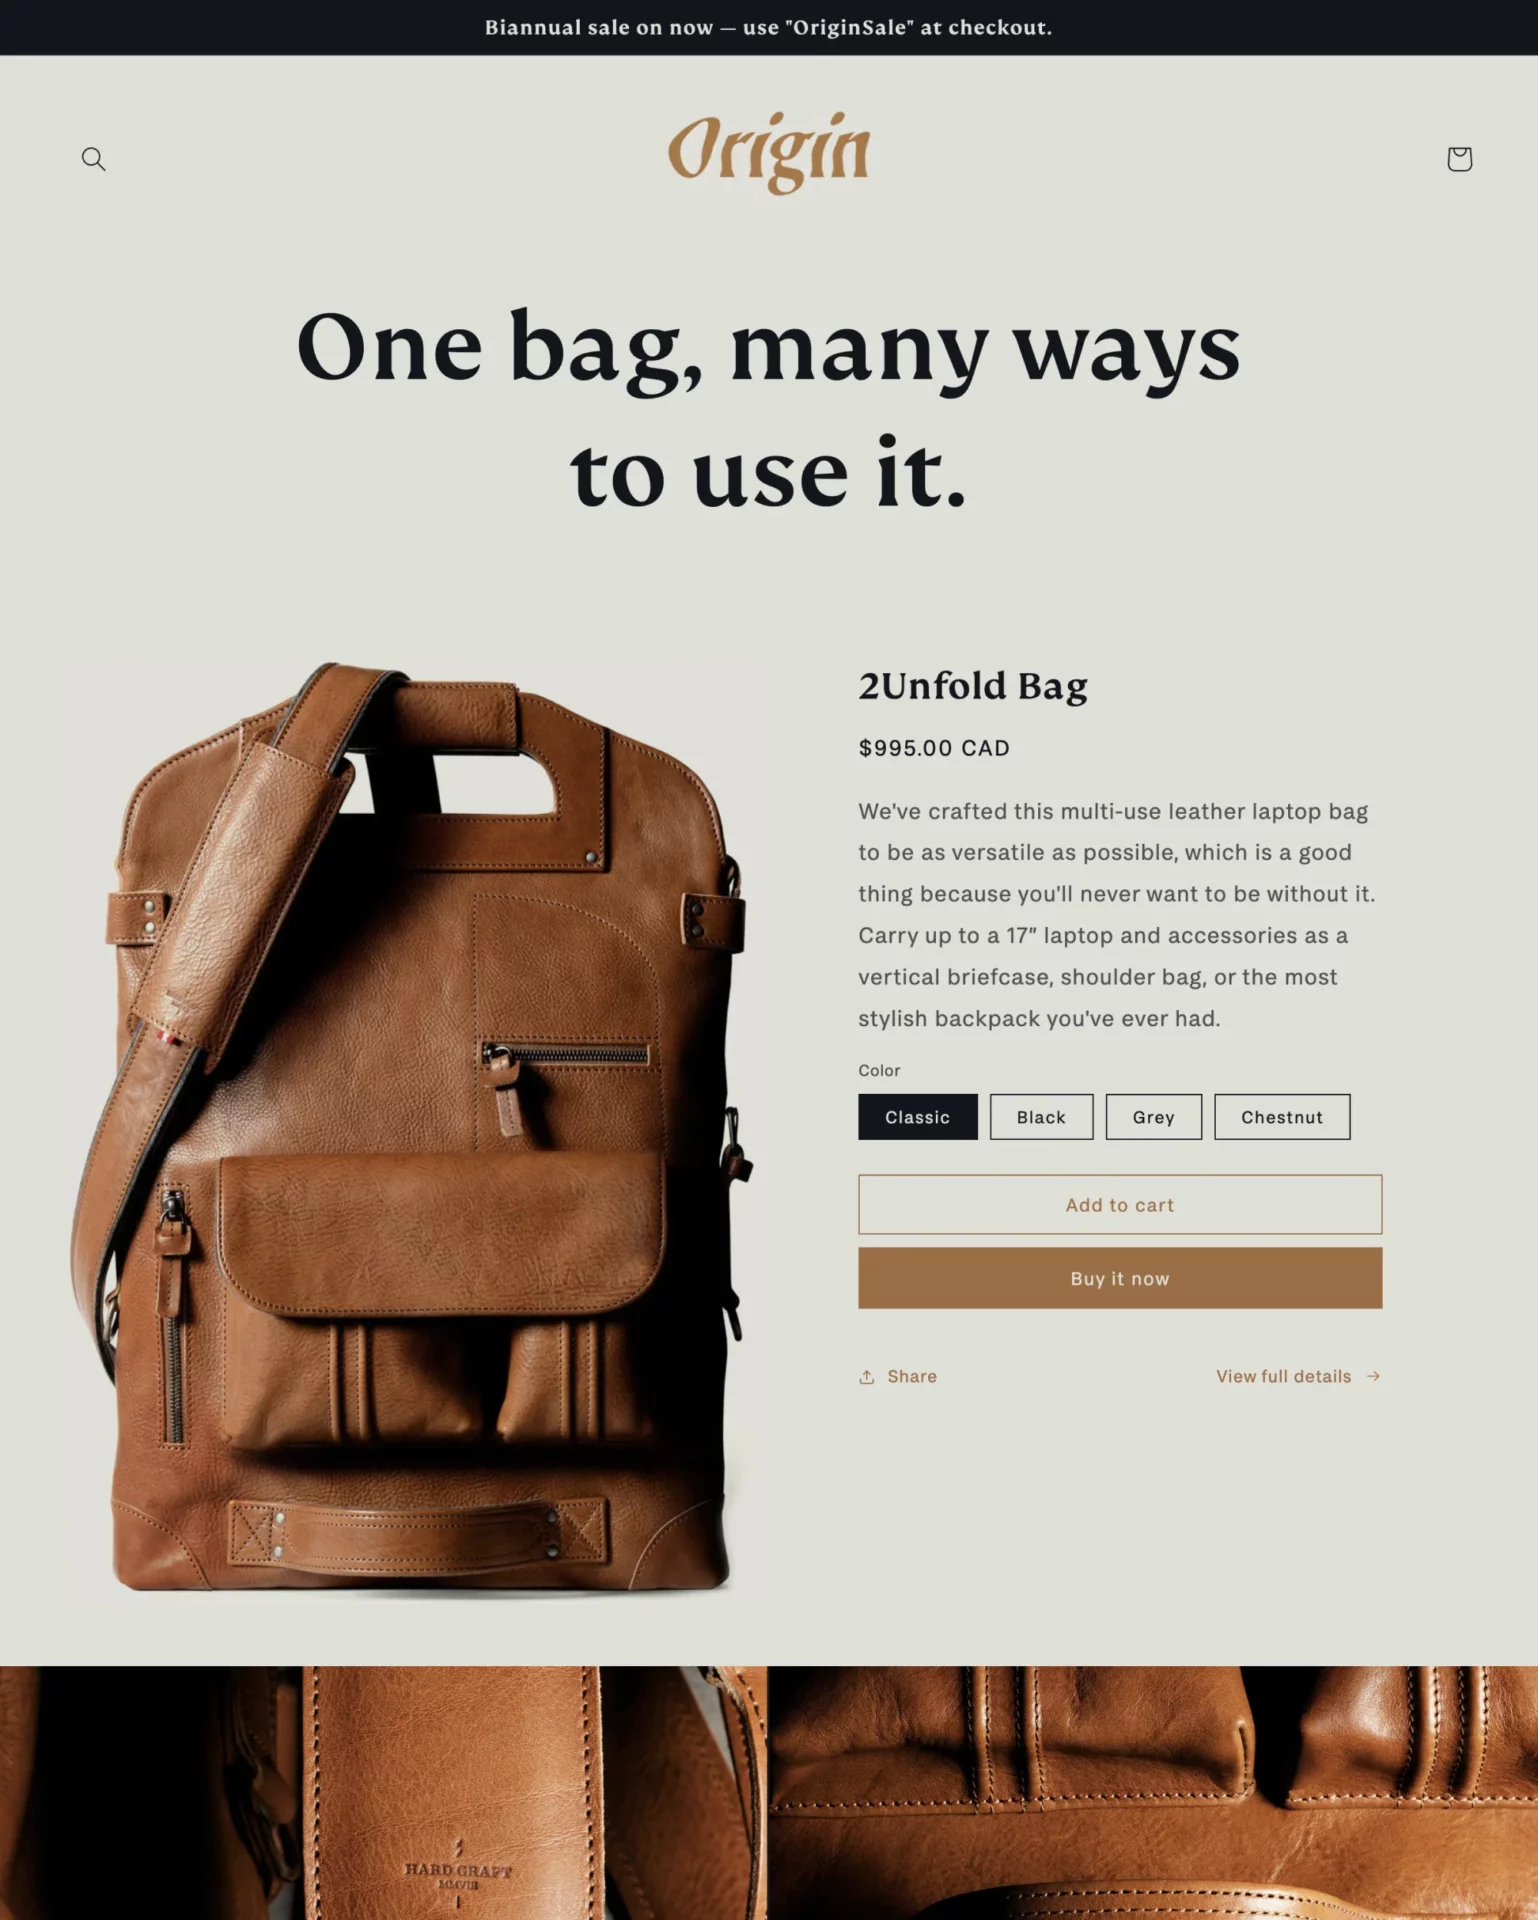
Origin
|
|
| 6 |
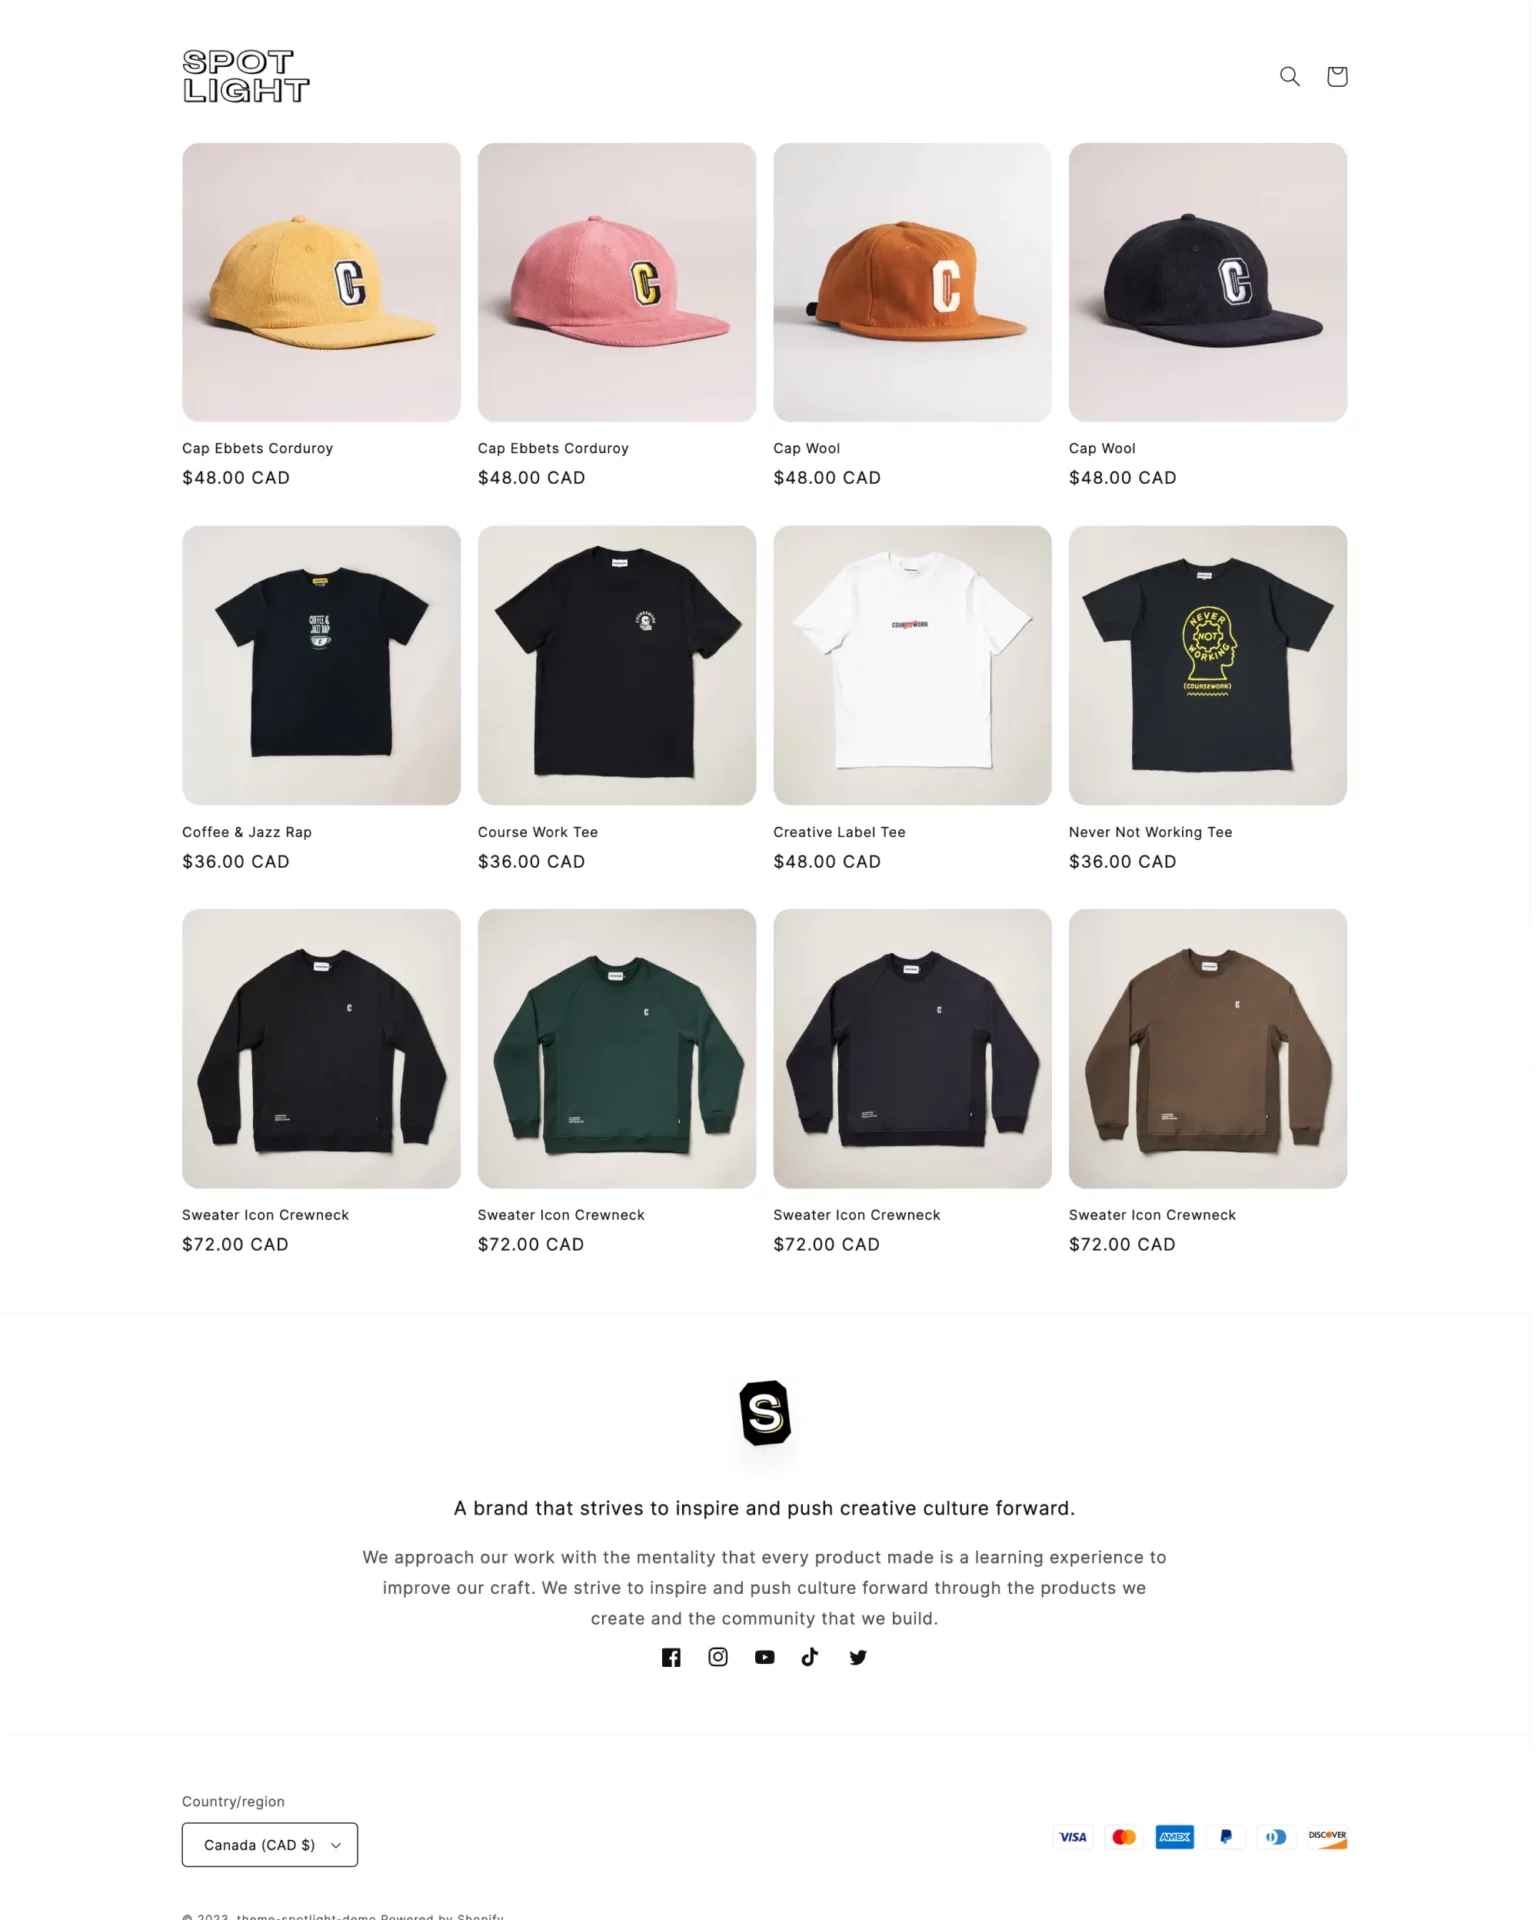
|
Spotlight
|
|
| 7 |
|
Craft
|
|
| 8 |
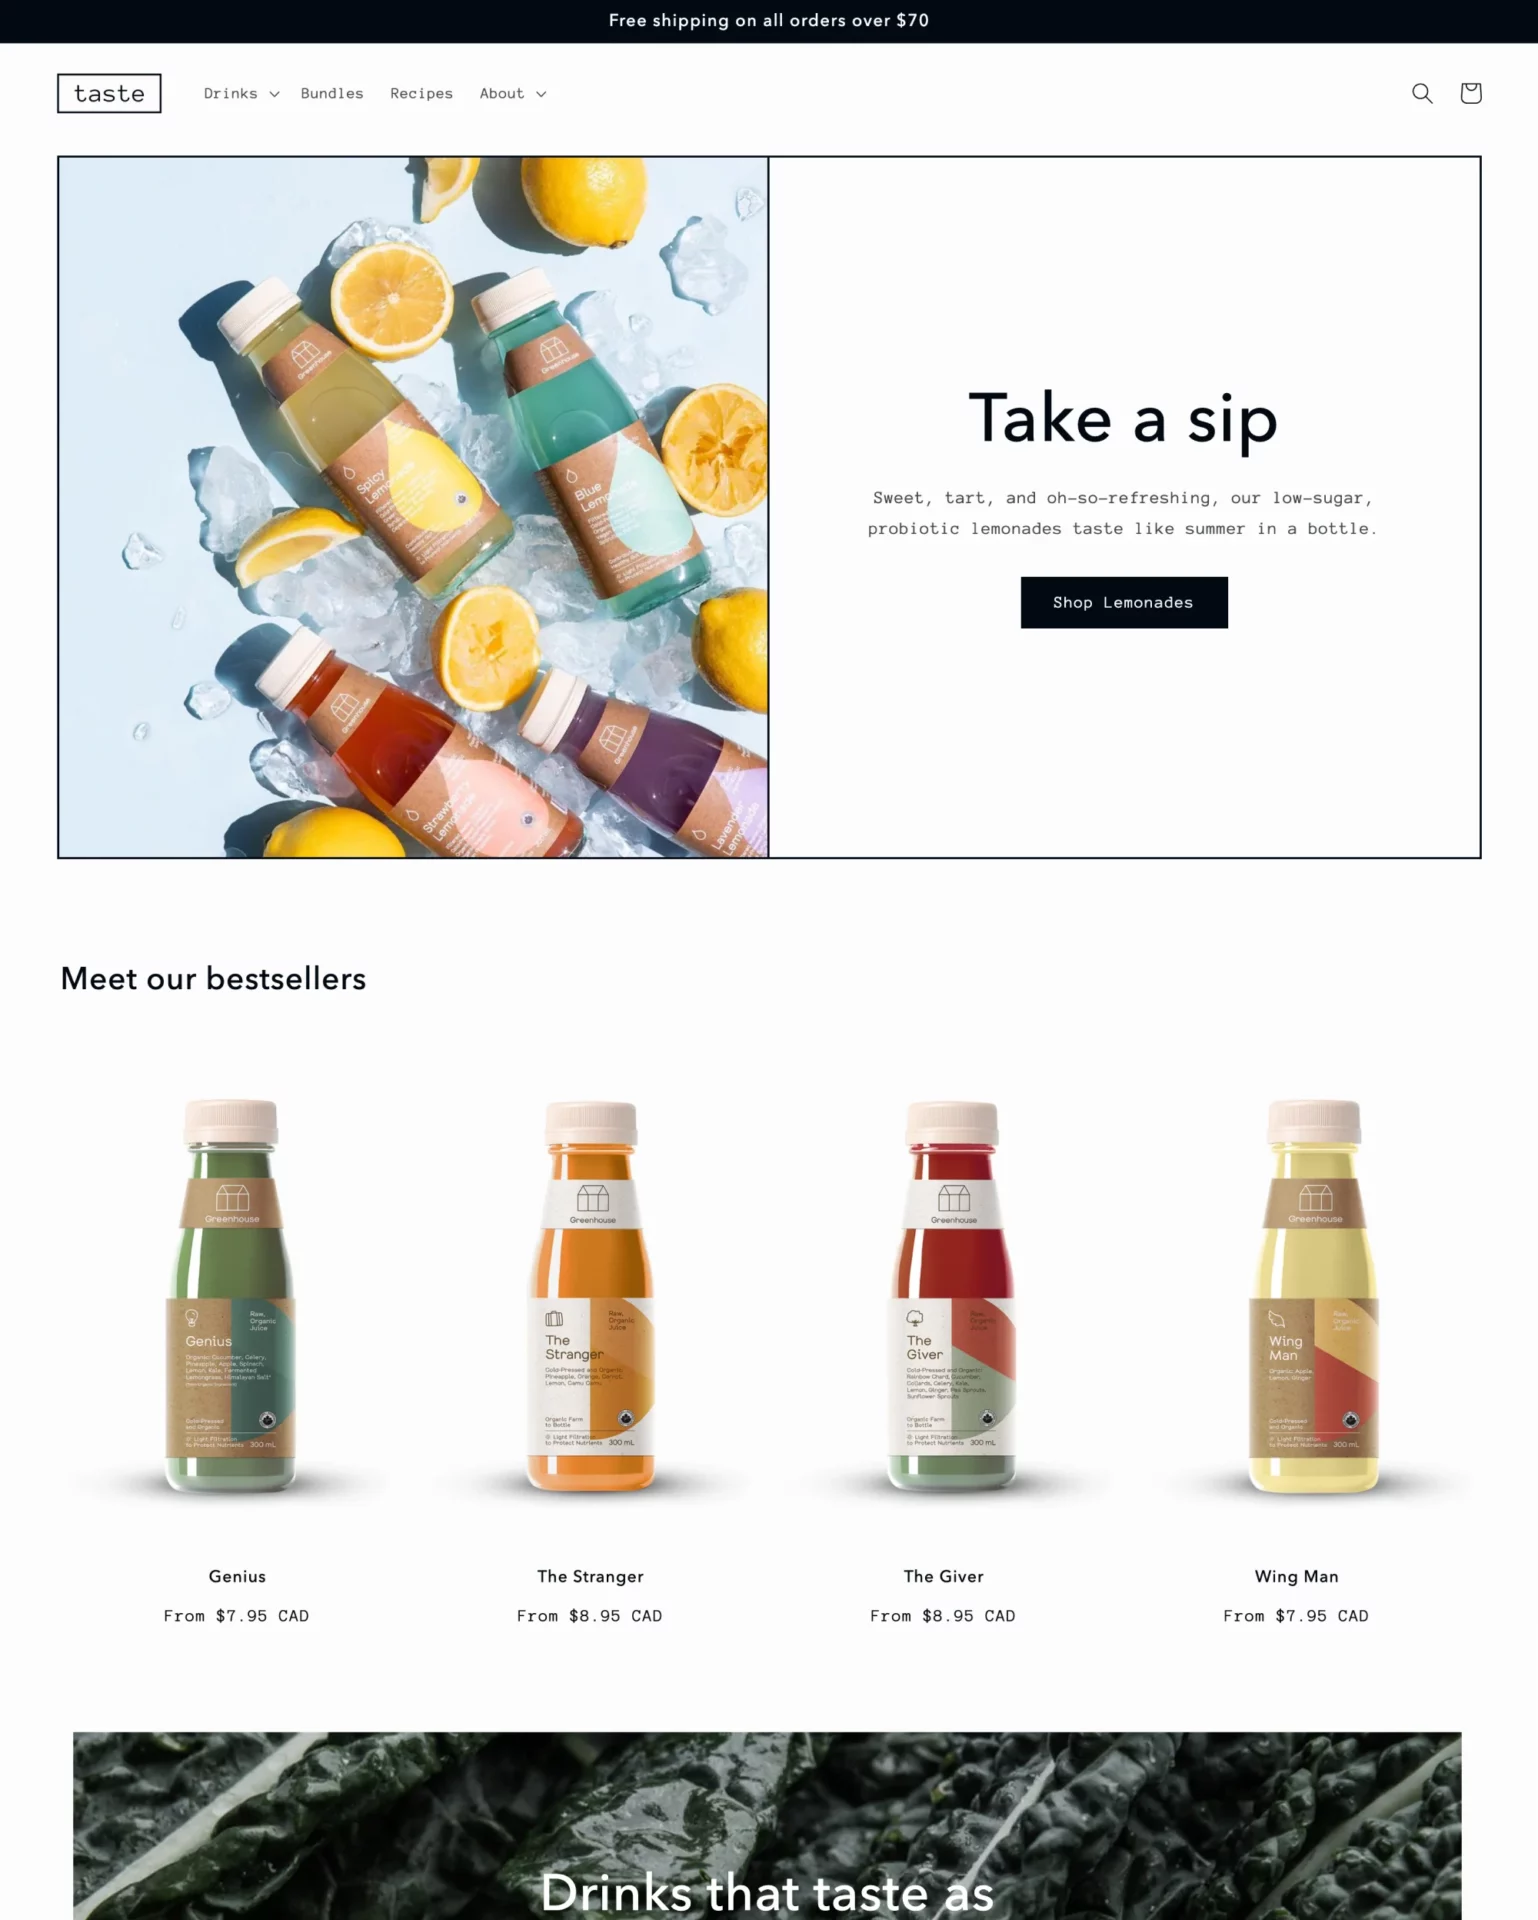
|
Taste
|
|
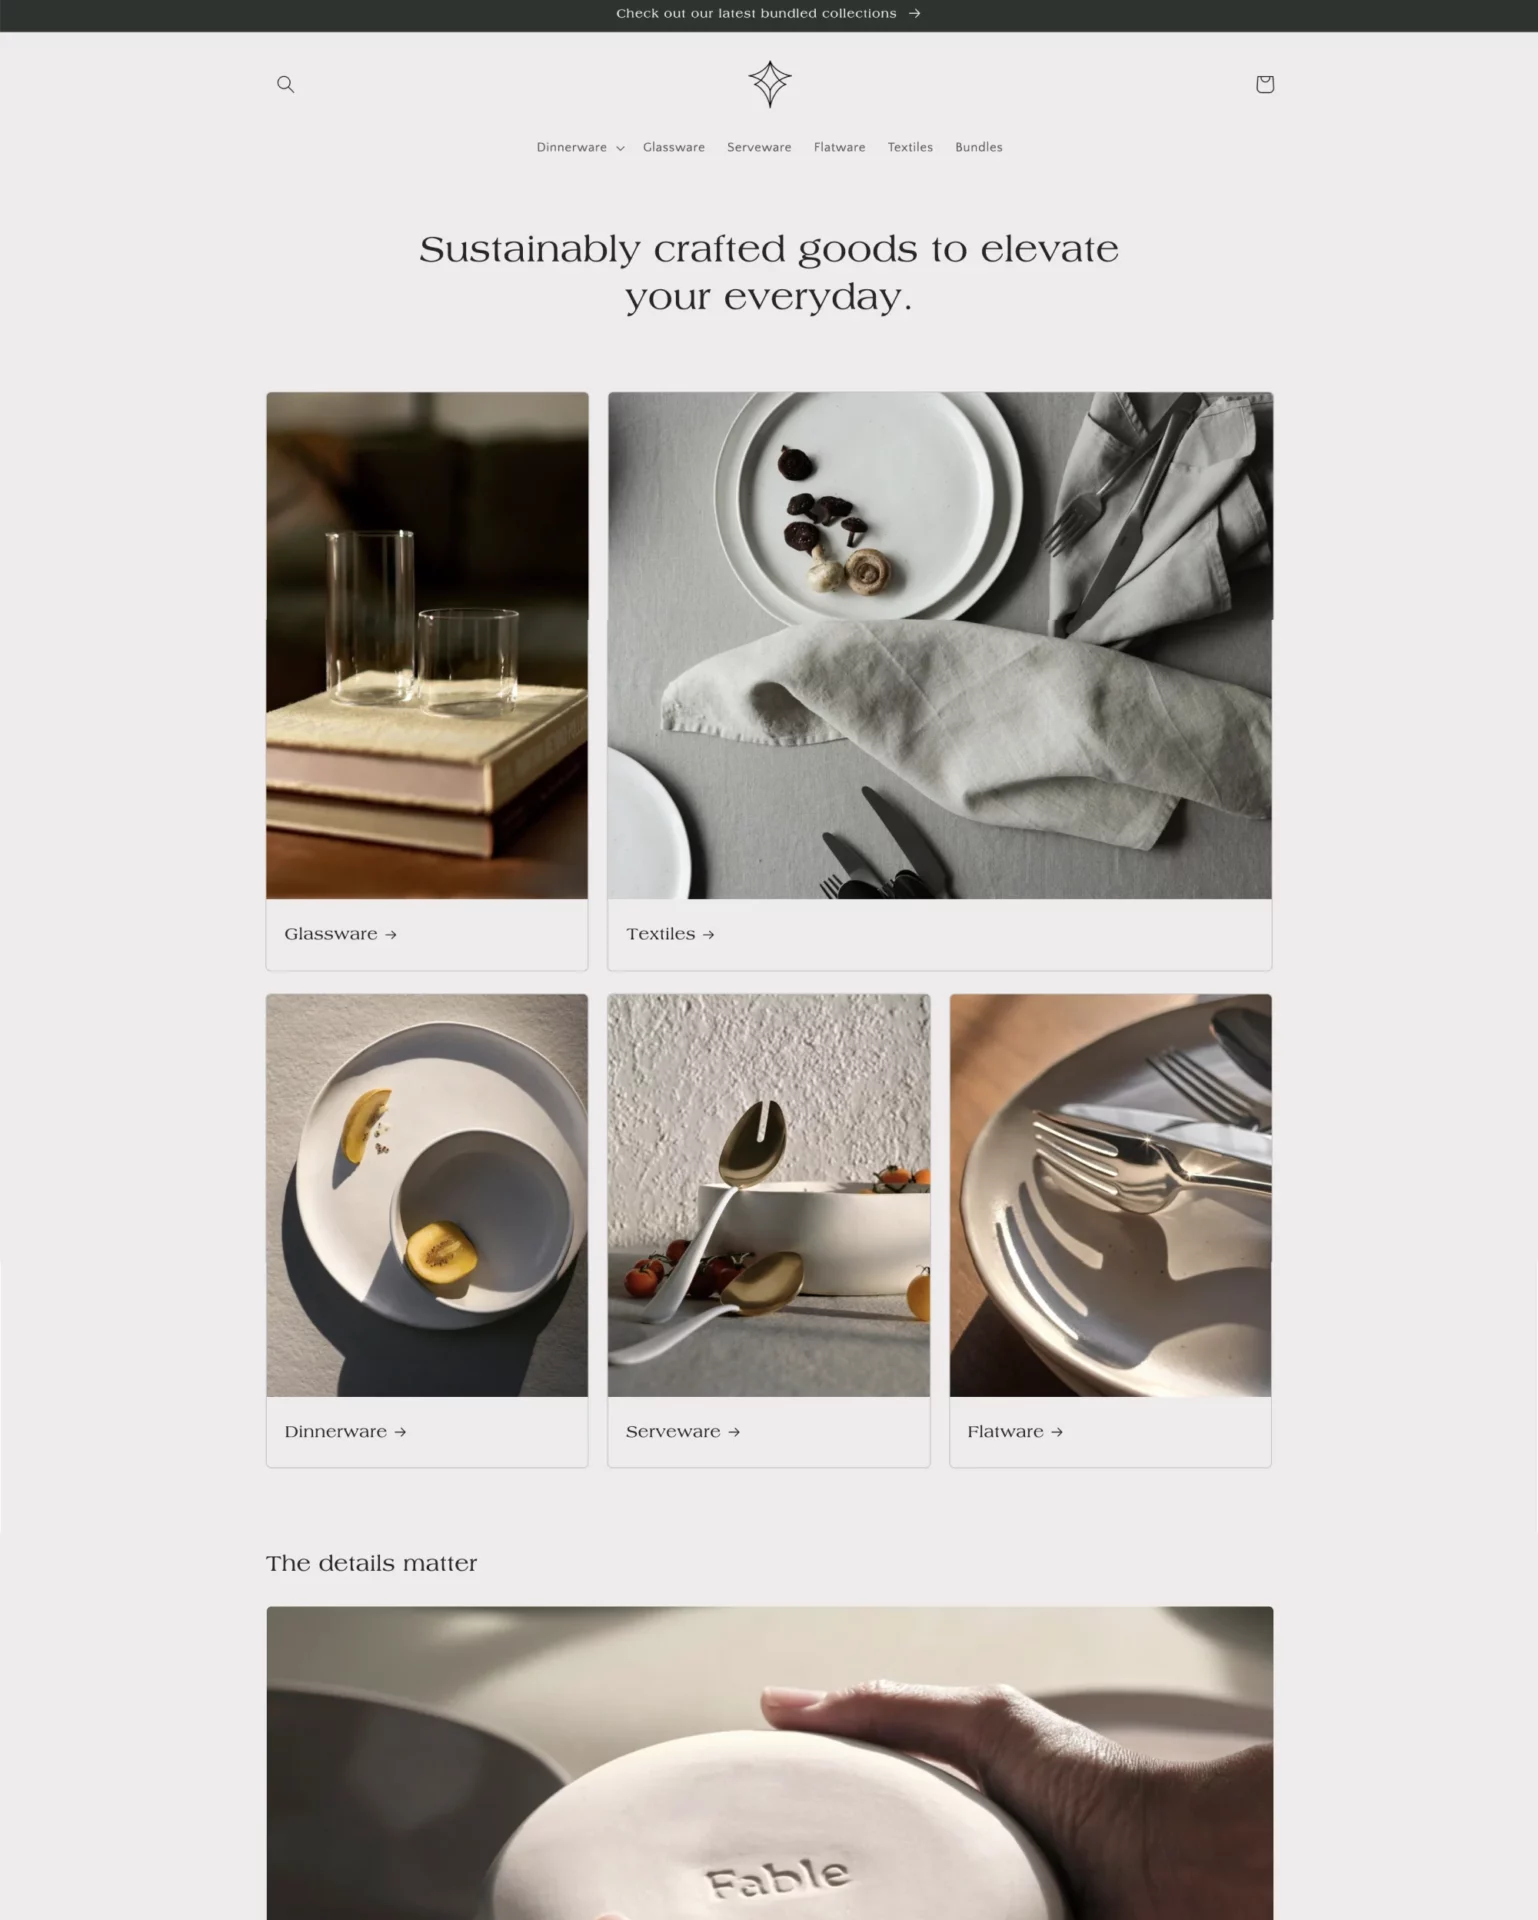
| 9 |

|
Studio
|
|
| 10 |
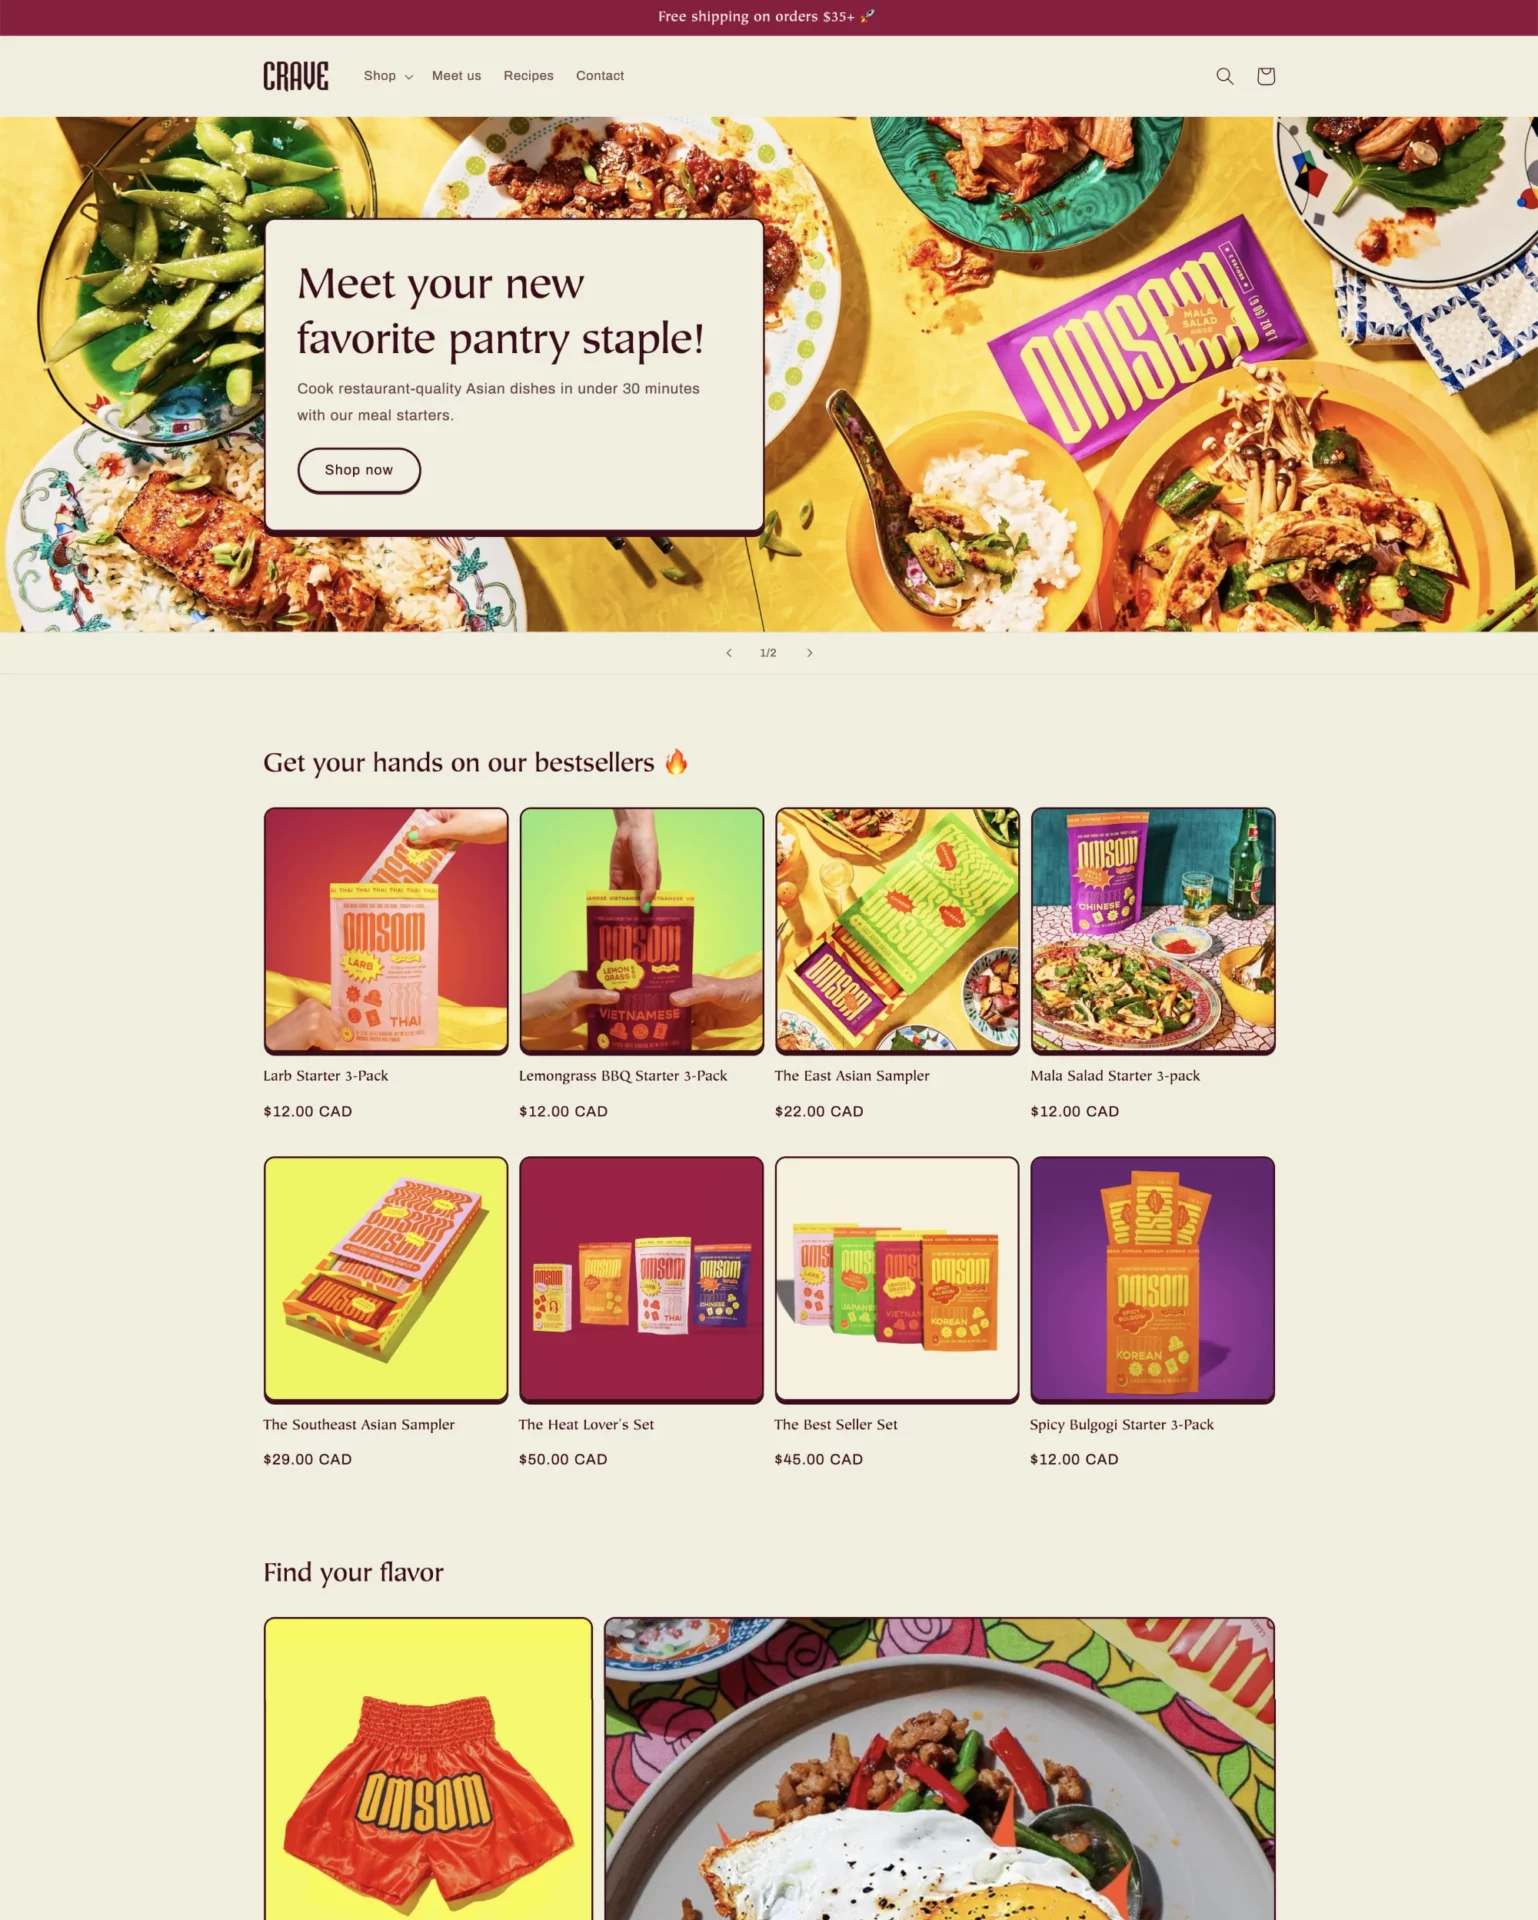
|
Crave
|
|
|
Show More
|
|||
-
How many products should I have before launching a Shopify store?
You only need one product to launch, but most owners find a 5 to 15 product launch range works best. Fewer than five and the store looks empty; more than 20 and you risk launching with rushed product descriptions and photos. Add the rest after launch, one or two new SKUs a week, so each gets full attention.
-
Can you start a Shopify store with no products?
Yes. Shopify lets you sign up, pick a theme, and customize the storefront before you add any product. Many owners use the 3-day free trial to build the homepage, write policies, and set up payments, then add products on the day they switch to a paid plan. You still need at least one product to test the checkout.
-
How long does it take to set up a Shopify store from scratch?
If you already have products ready to photograph, a focused weekend (10-15 hours) is enough to launch. If you’re starting from “I have no idea what to sell,” budget two to three weeks of evenings: a week to validate a niche, a few days to source product samples, a few more to write descriptions and shoot photos, and a final day for shipping, taxes, and the four legal pages. The platform itself is rarely the bottleneck.
-
How much does it cost to start a basic Shopify store?
The minimum monthly cost is the Basic Shopify plan at $39/month (or $29/month if paid annually). Add a custom domain at $14 to $20/year, an email tool at $0 to $20/month, and a paid theme if you skip the free ones at $180 to $400 one-time. A new store can launch for under $50 in the first month if you stick to free themes and apps.
-
Do I need an LLC to start a Shopify store?
No. Shopify lets sole proprietors open a store using a personal name and SSN in the US, or the equivalent in other countries. An LLC is worth setting up once revenue covers the $50 to $150 filing fee, since it separates store liability from personal assets. Shopify Payments will accept either an LLC EIN or a personal SSN at signup.
Where to Go Next
After your store is live, the work shifts from setup to iteration. Watch your Settings > Notifications log for failed payments, check your Analytics dashboard daily for the first month, and revisit shipping rates once you have 20 real orders to compare against actual carrier costs. If you outgrow Basic’s reporting, the next step is the Shopify Grow or Advanced plan, which adds professional reports and lower card rates.
The first 90 days teach you more than any setup guide can. Tweak product titles based on which ones get traffic but no sales. Add the one missing payment method customers email you about. Refine your shipping zones once you see where orders are actually coming from.


